Medical Records Setup > Interface Setup > N2N Direct Setup > Triage Message Setup
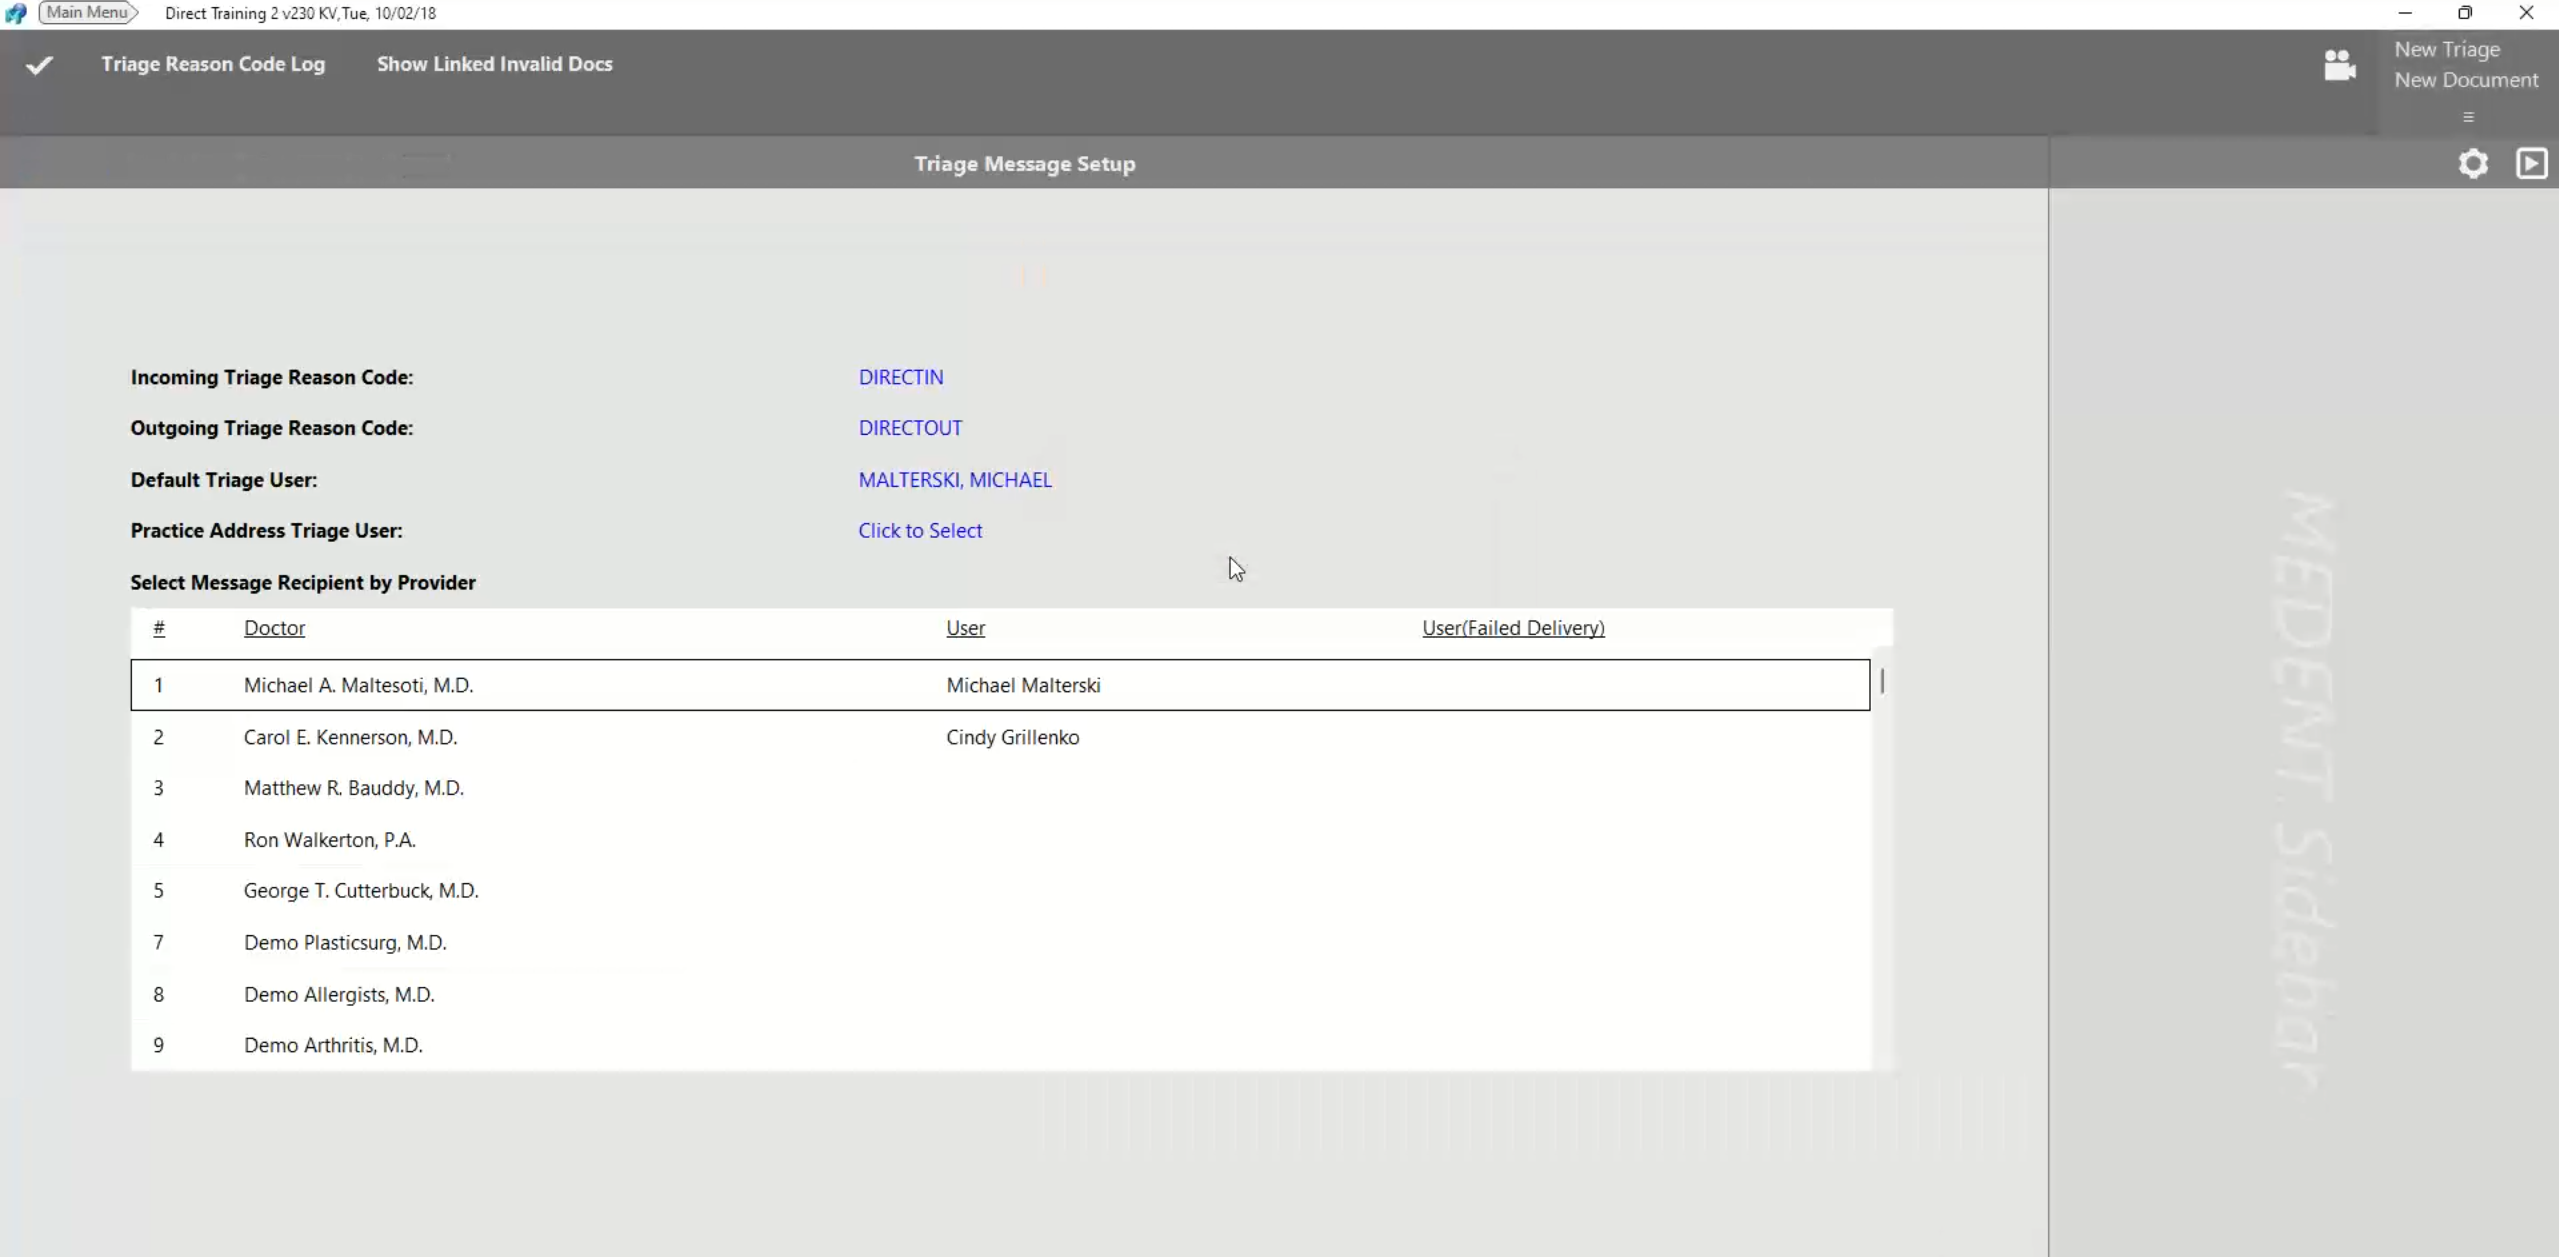
When messages come into MEDENT from another provider, if the patient's chart is found in your system, that information will automatically be placed on your patient's chart and a triage will be created. The Triage Message Setup screen is where you will specify who that triage will go to. You will be prompted to set the following information:
- Incoming Triage Reason Code
- Outgoing Triage Reason Code
- Default Triage User
- Practice Address Triage User
- Message Recipient by Provider
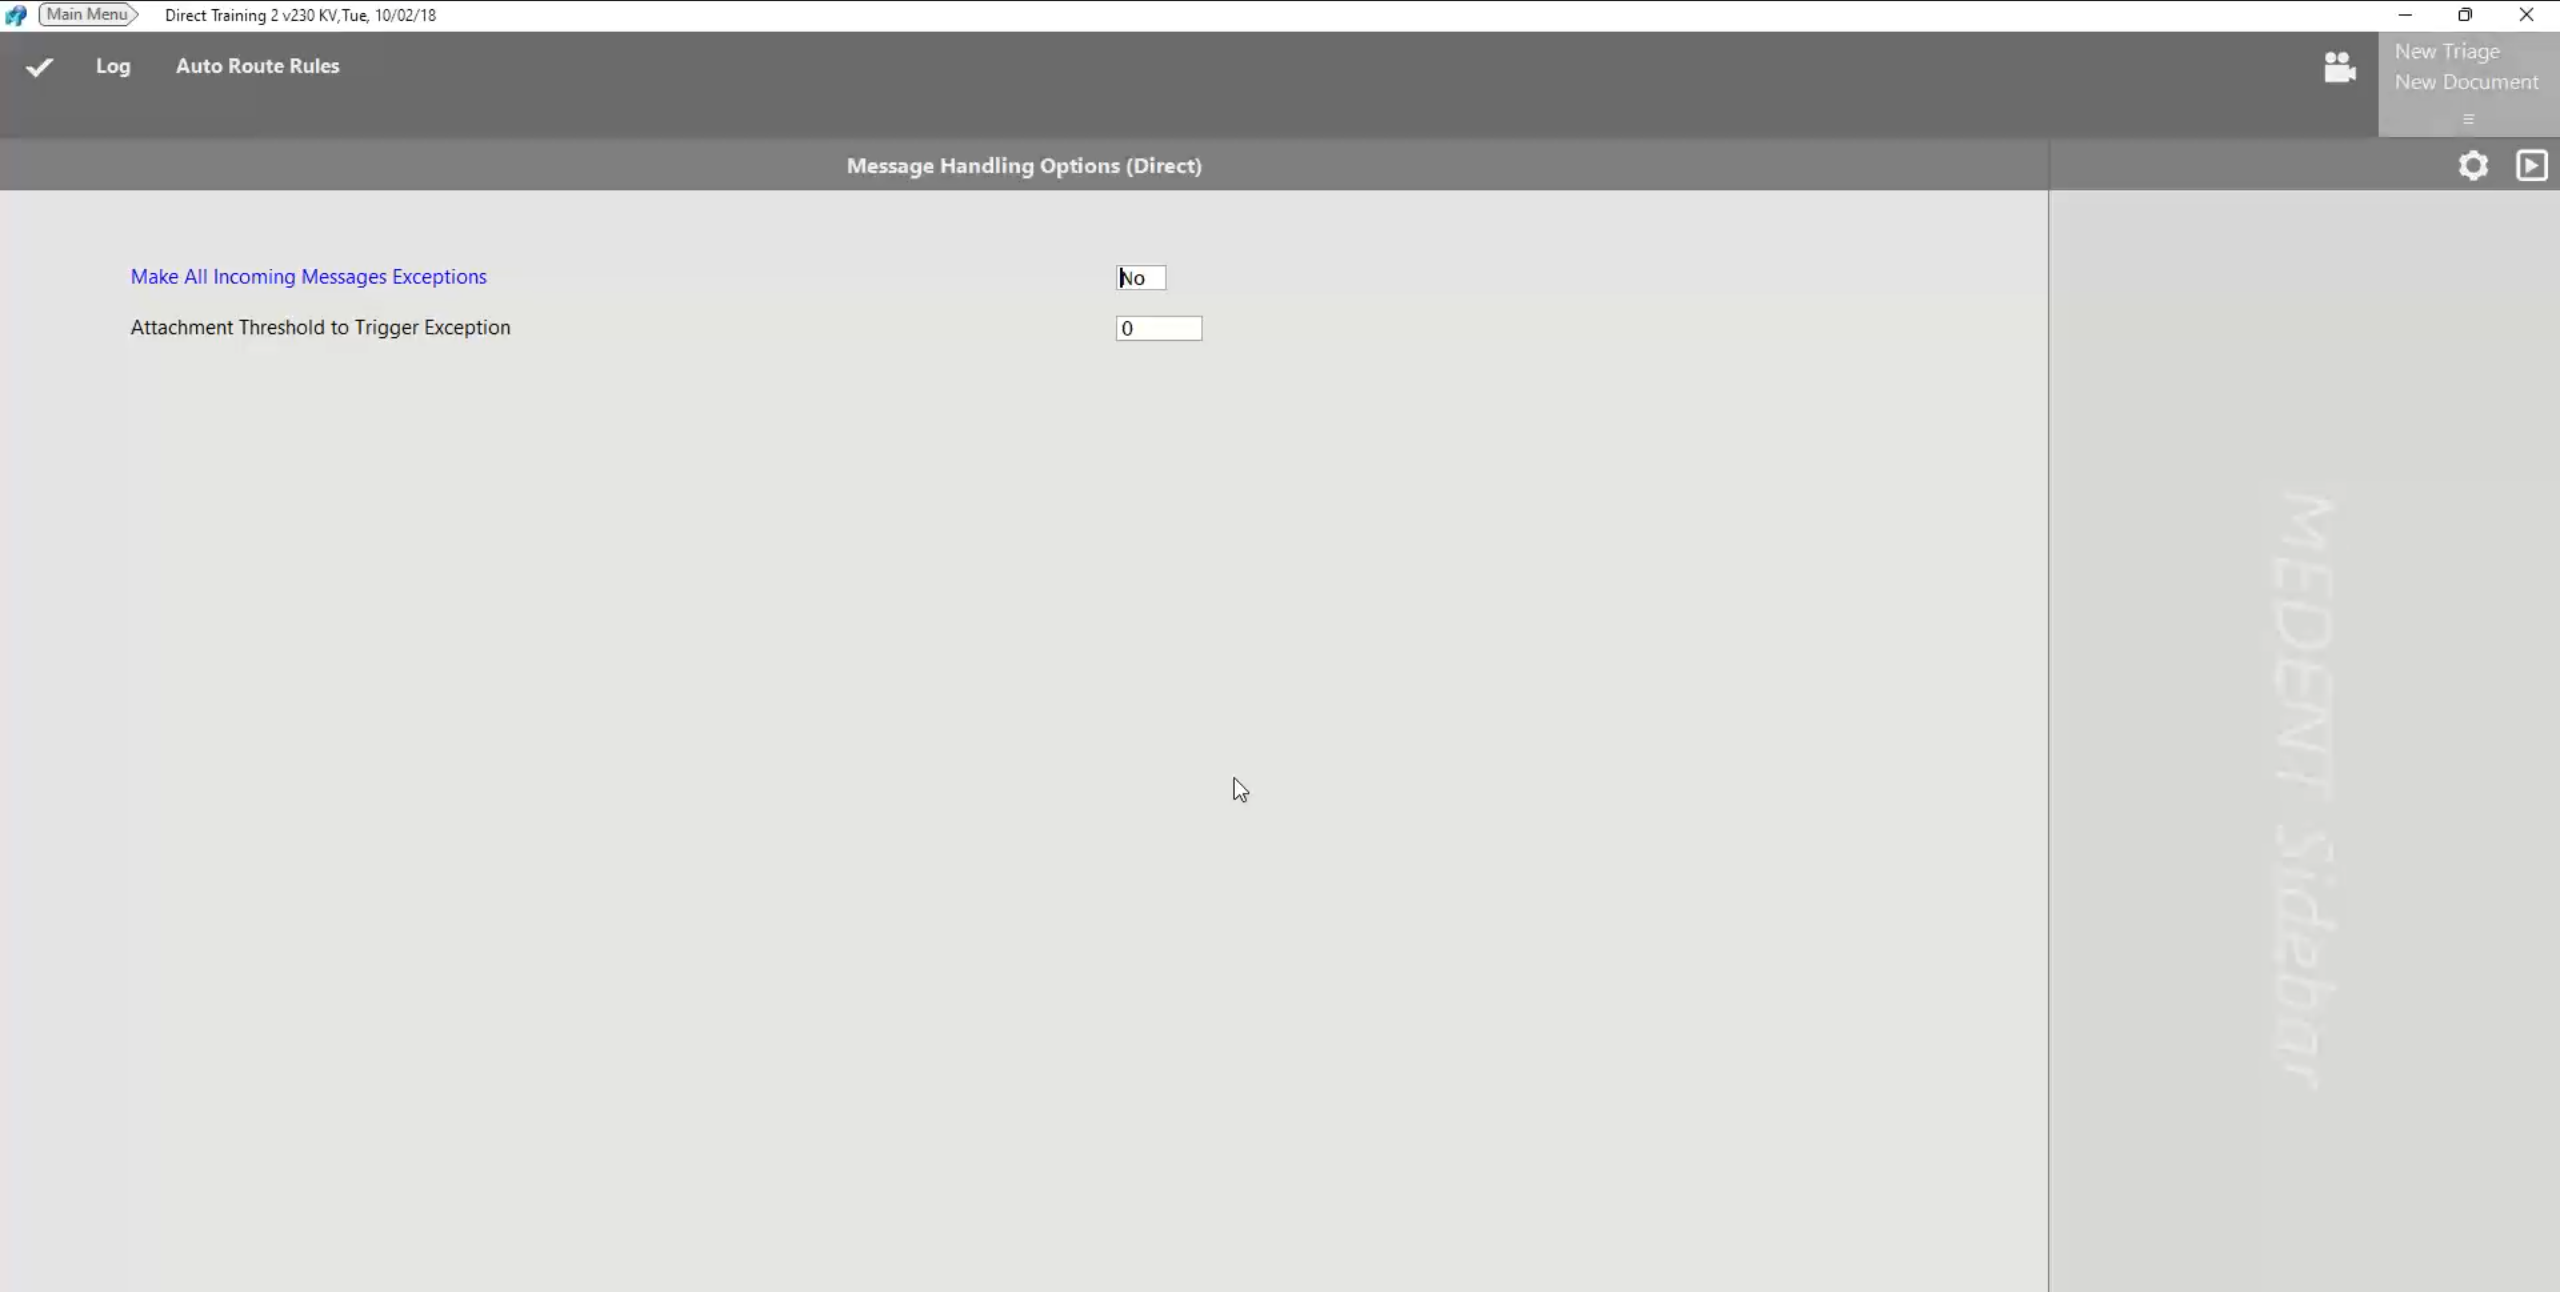
Medical Records Setup > Interface Setup > N2N Direct Setup > Message Handling Options
This Message Handling Option lets you set an attachment threshold that will trigger an exception for incoming messages. If the attachments exceed a certain number, these messages will be placed in the Direct Message Exception Holding Tank to review whether you would like to import the documents.
Medical Records Setup > Interface Setup > N2N Direct Setup > Direct Referral Report
If you would like to see all of the outgoing send containers that were sent as Direct Message, this lets you set the number of top referrals and previous months you'd like included in the report.


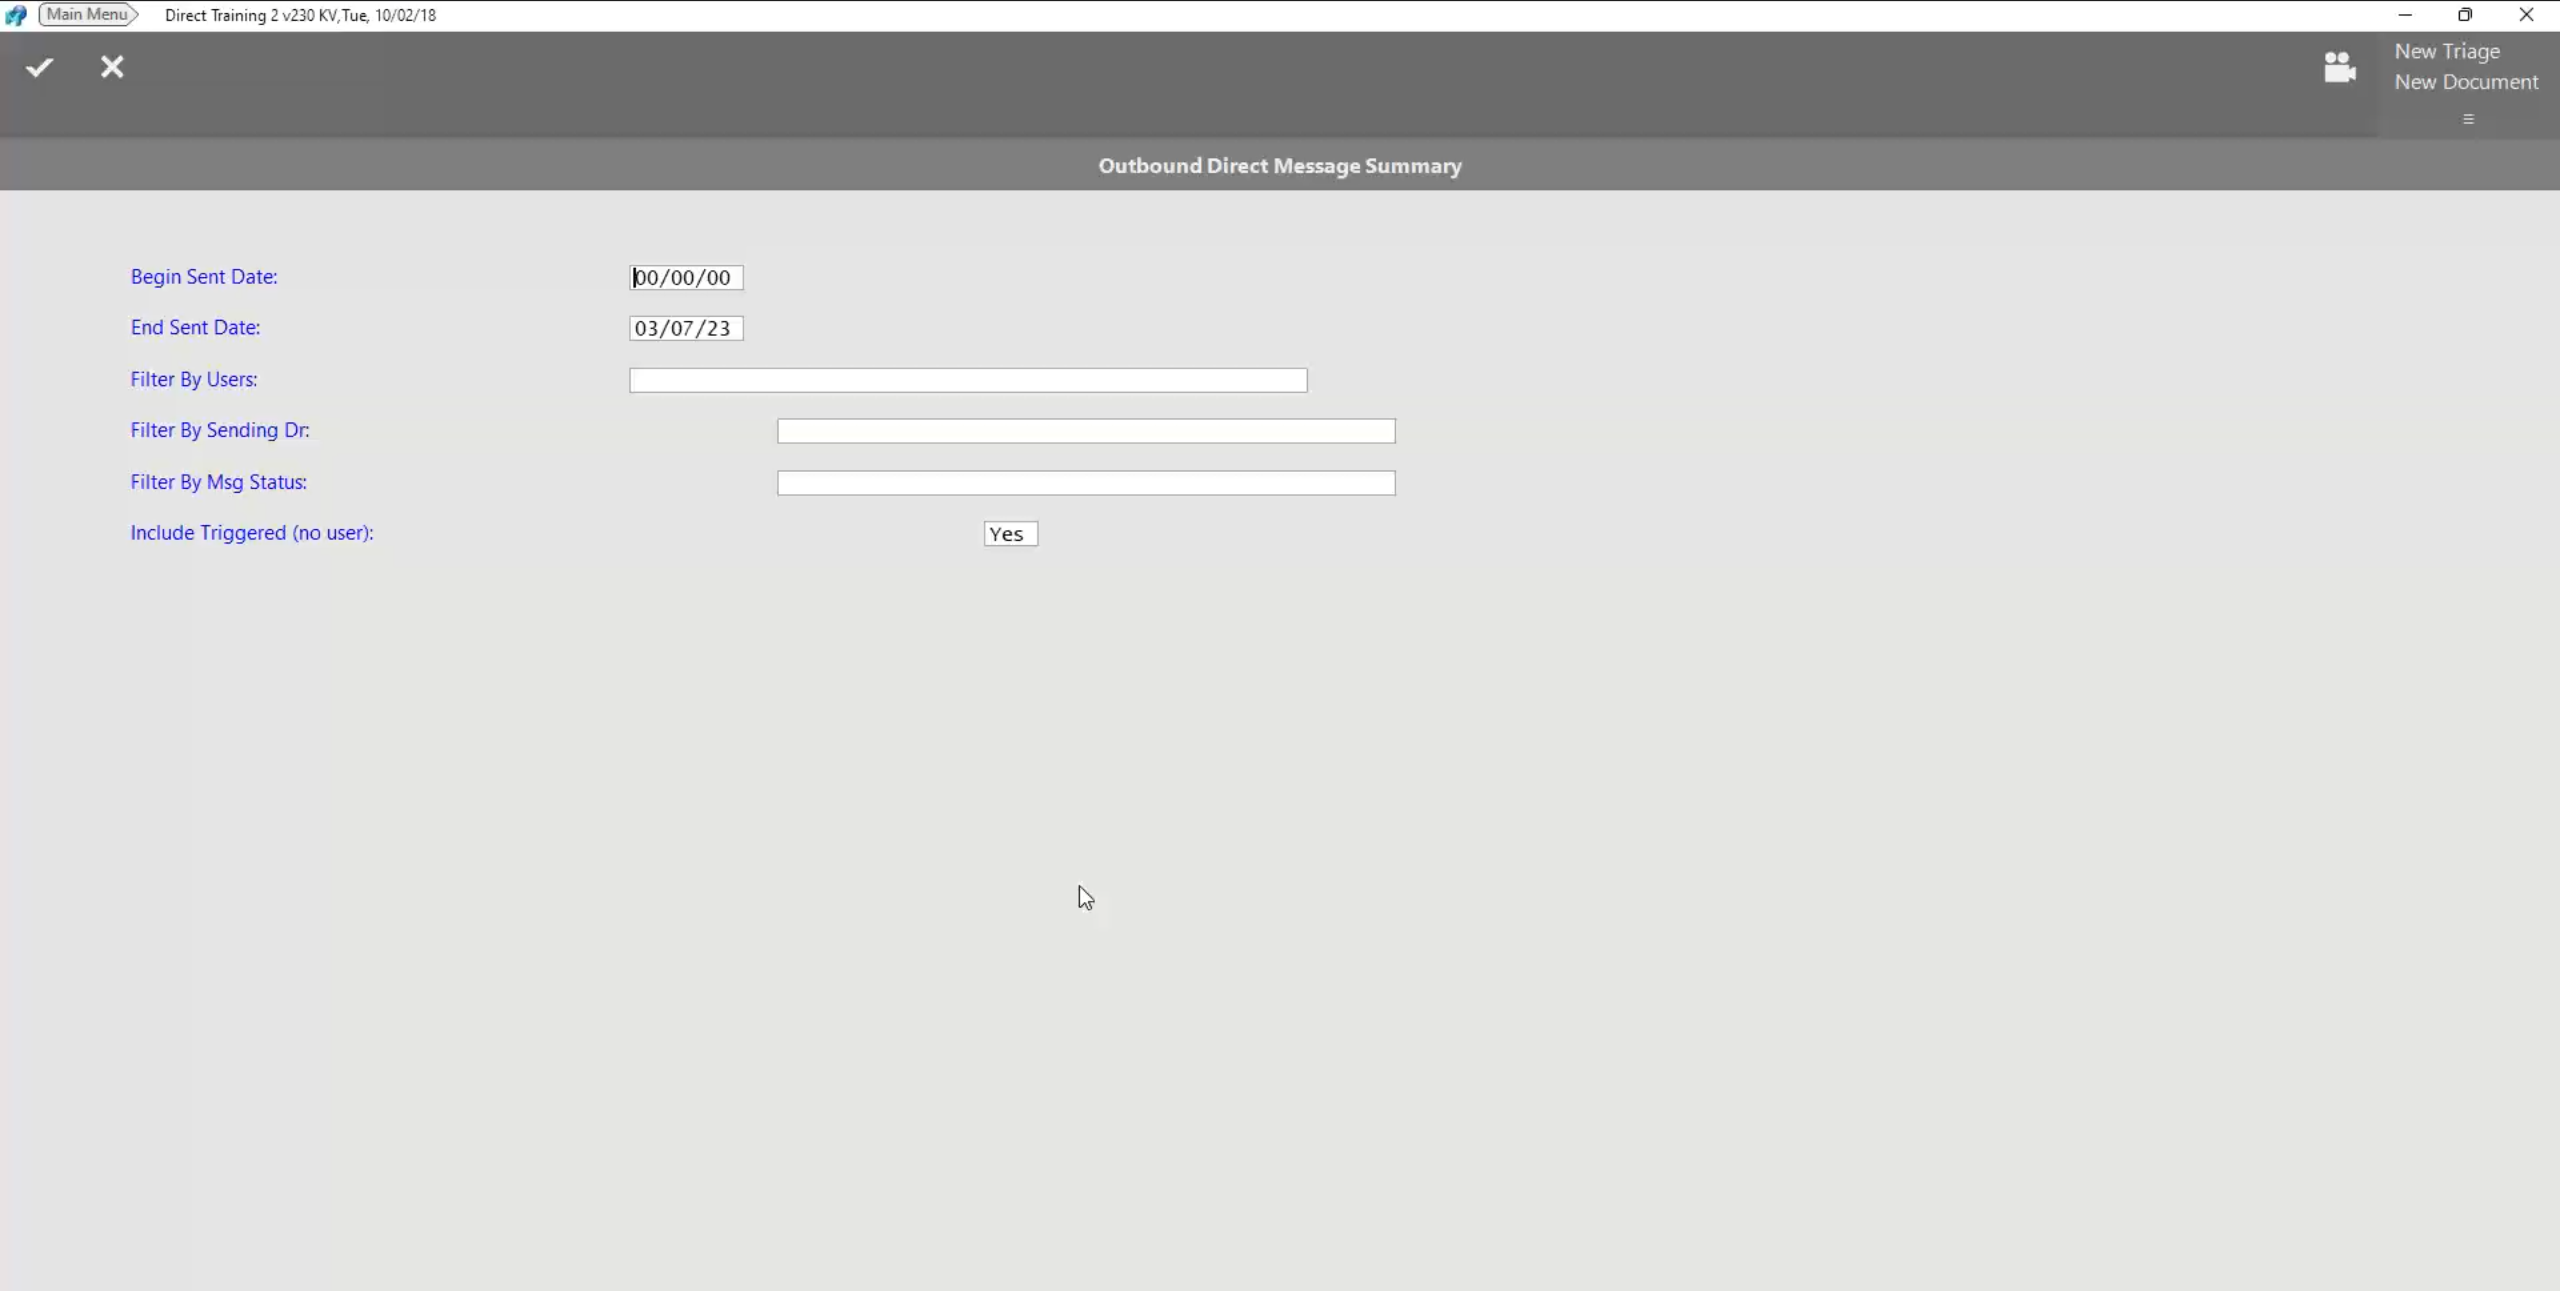
Medical Records Setup > Interface Setup > N2N Direct Setup > Outbound Direct Message Summary
This report can be run to see how many outgoing messages were sent. Here, you can set your date range and filter by users, sending doctor and message status.
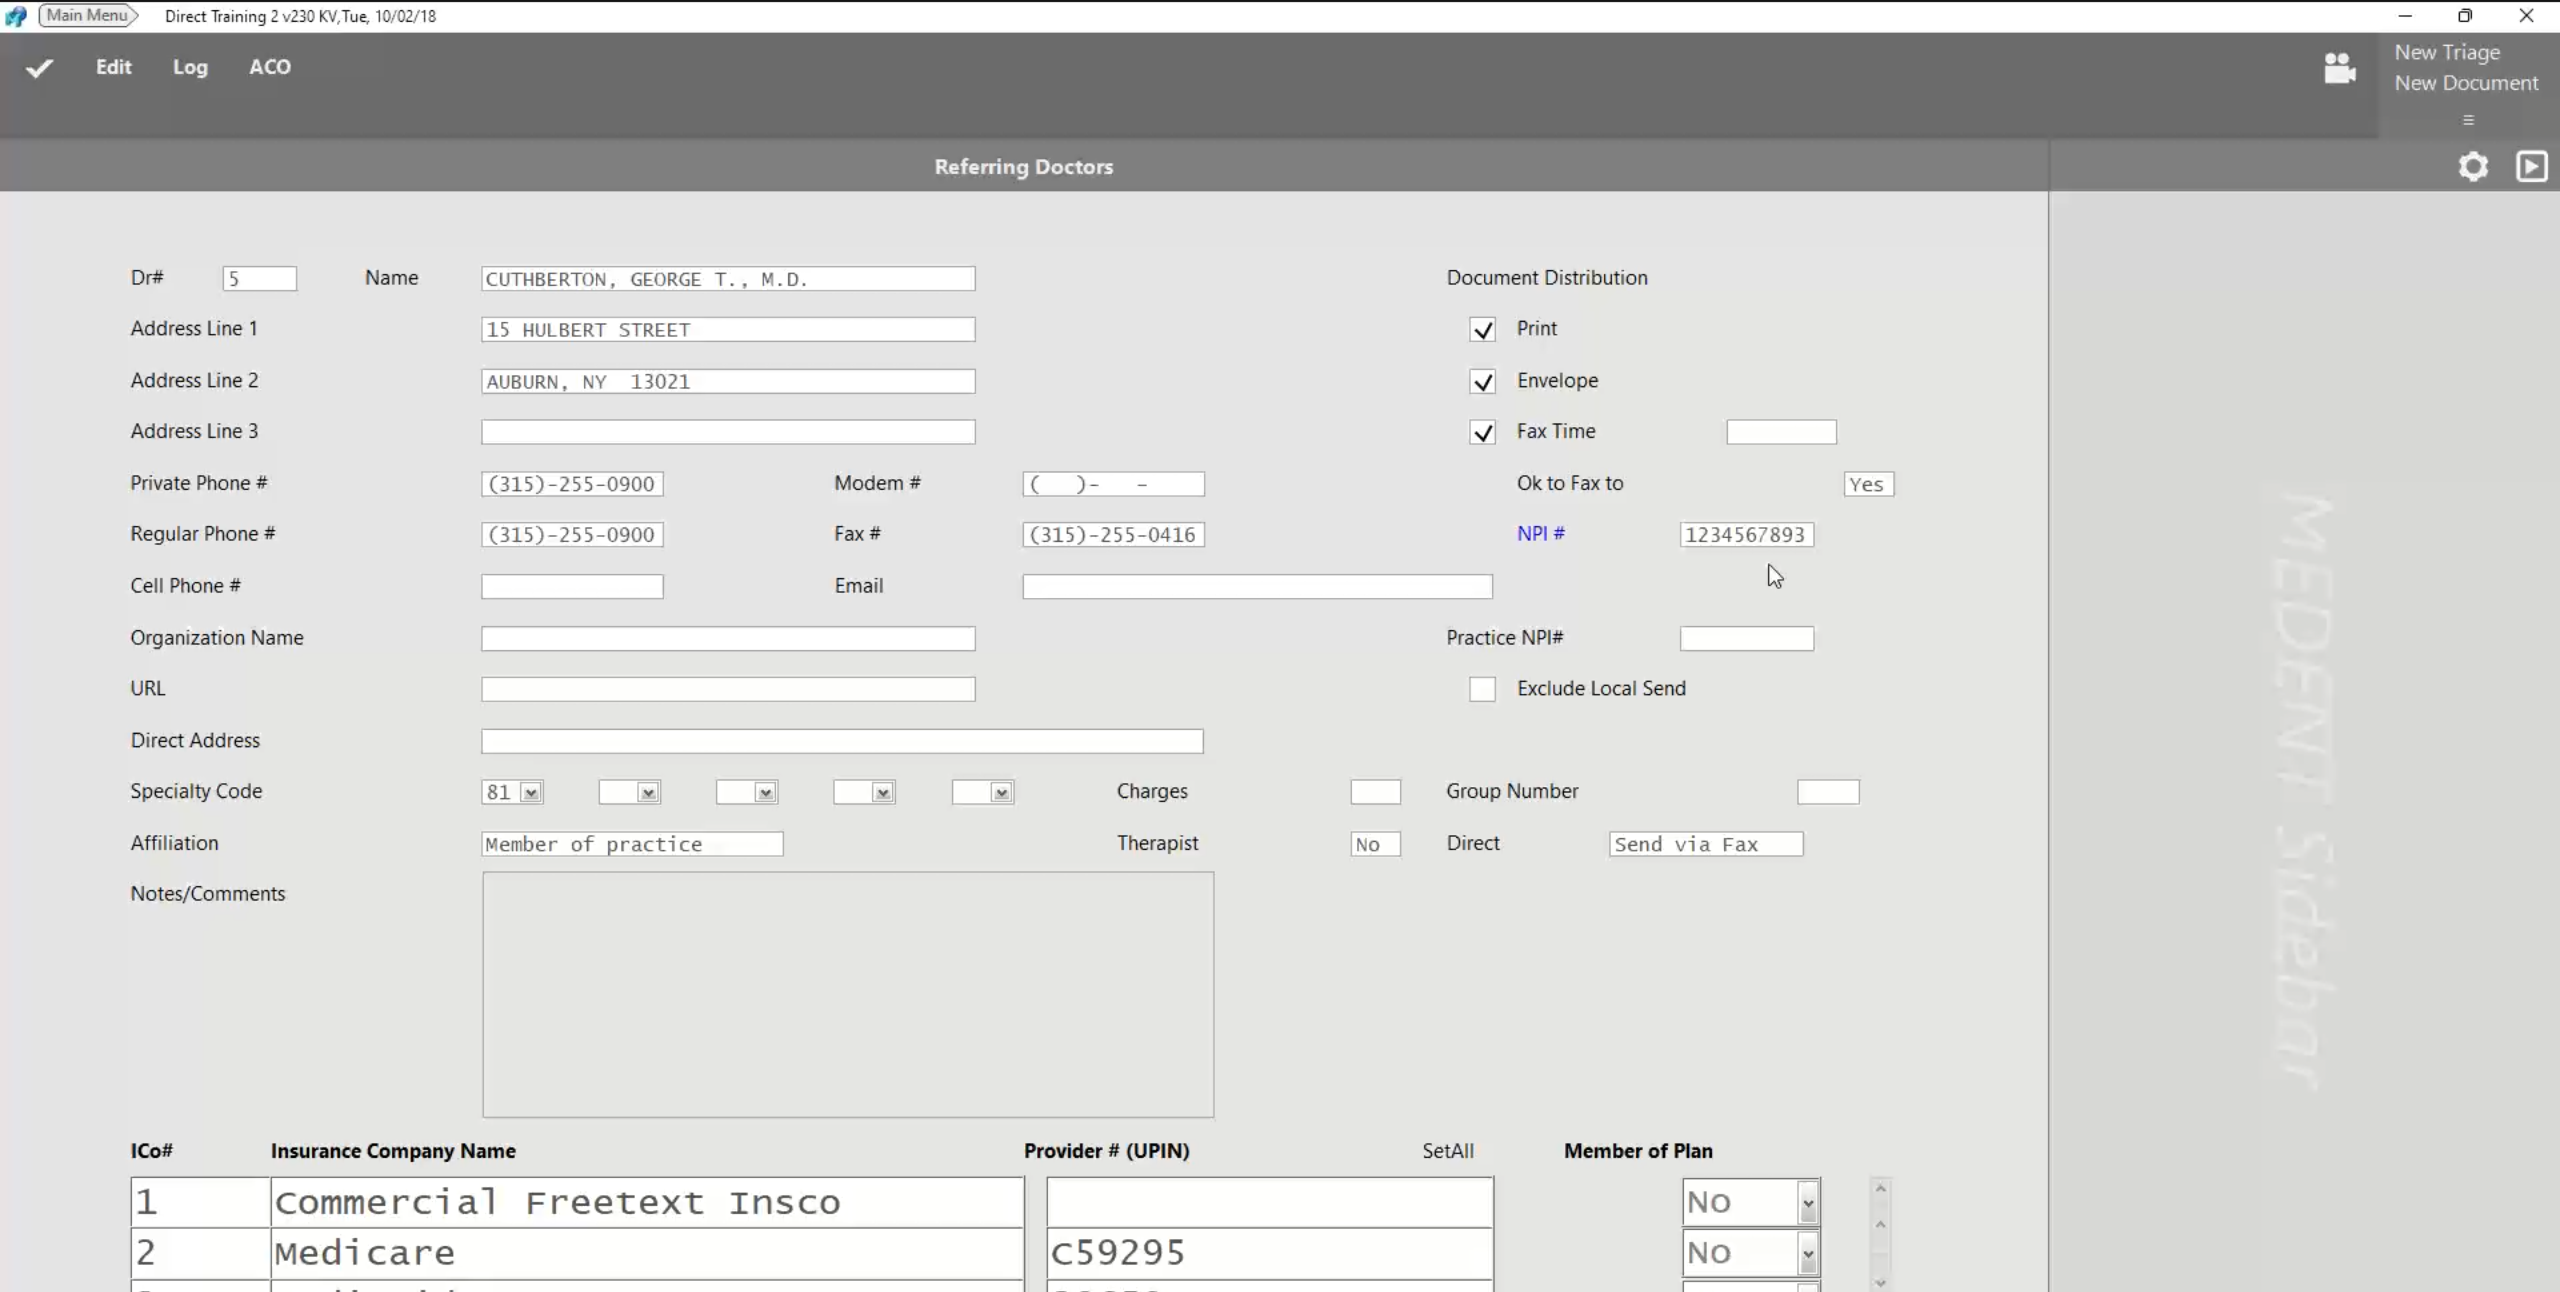
Practice Management > Setup > Setup Doctors > Referring Doctors > Edit/View
Doctors need to have an NPI #. Surescripts will look at these NPI numbers and determine whether that NPI is registered as a Direct Message user.
If the user is registered, the system will fill in the Direct Address field and update the Direct Option.
There three Direct Options:
- Send via Direct
- Send via Fax
- Send C-CDA via Direct & Unstructured Documents via Fax
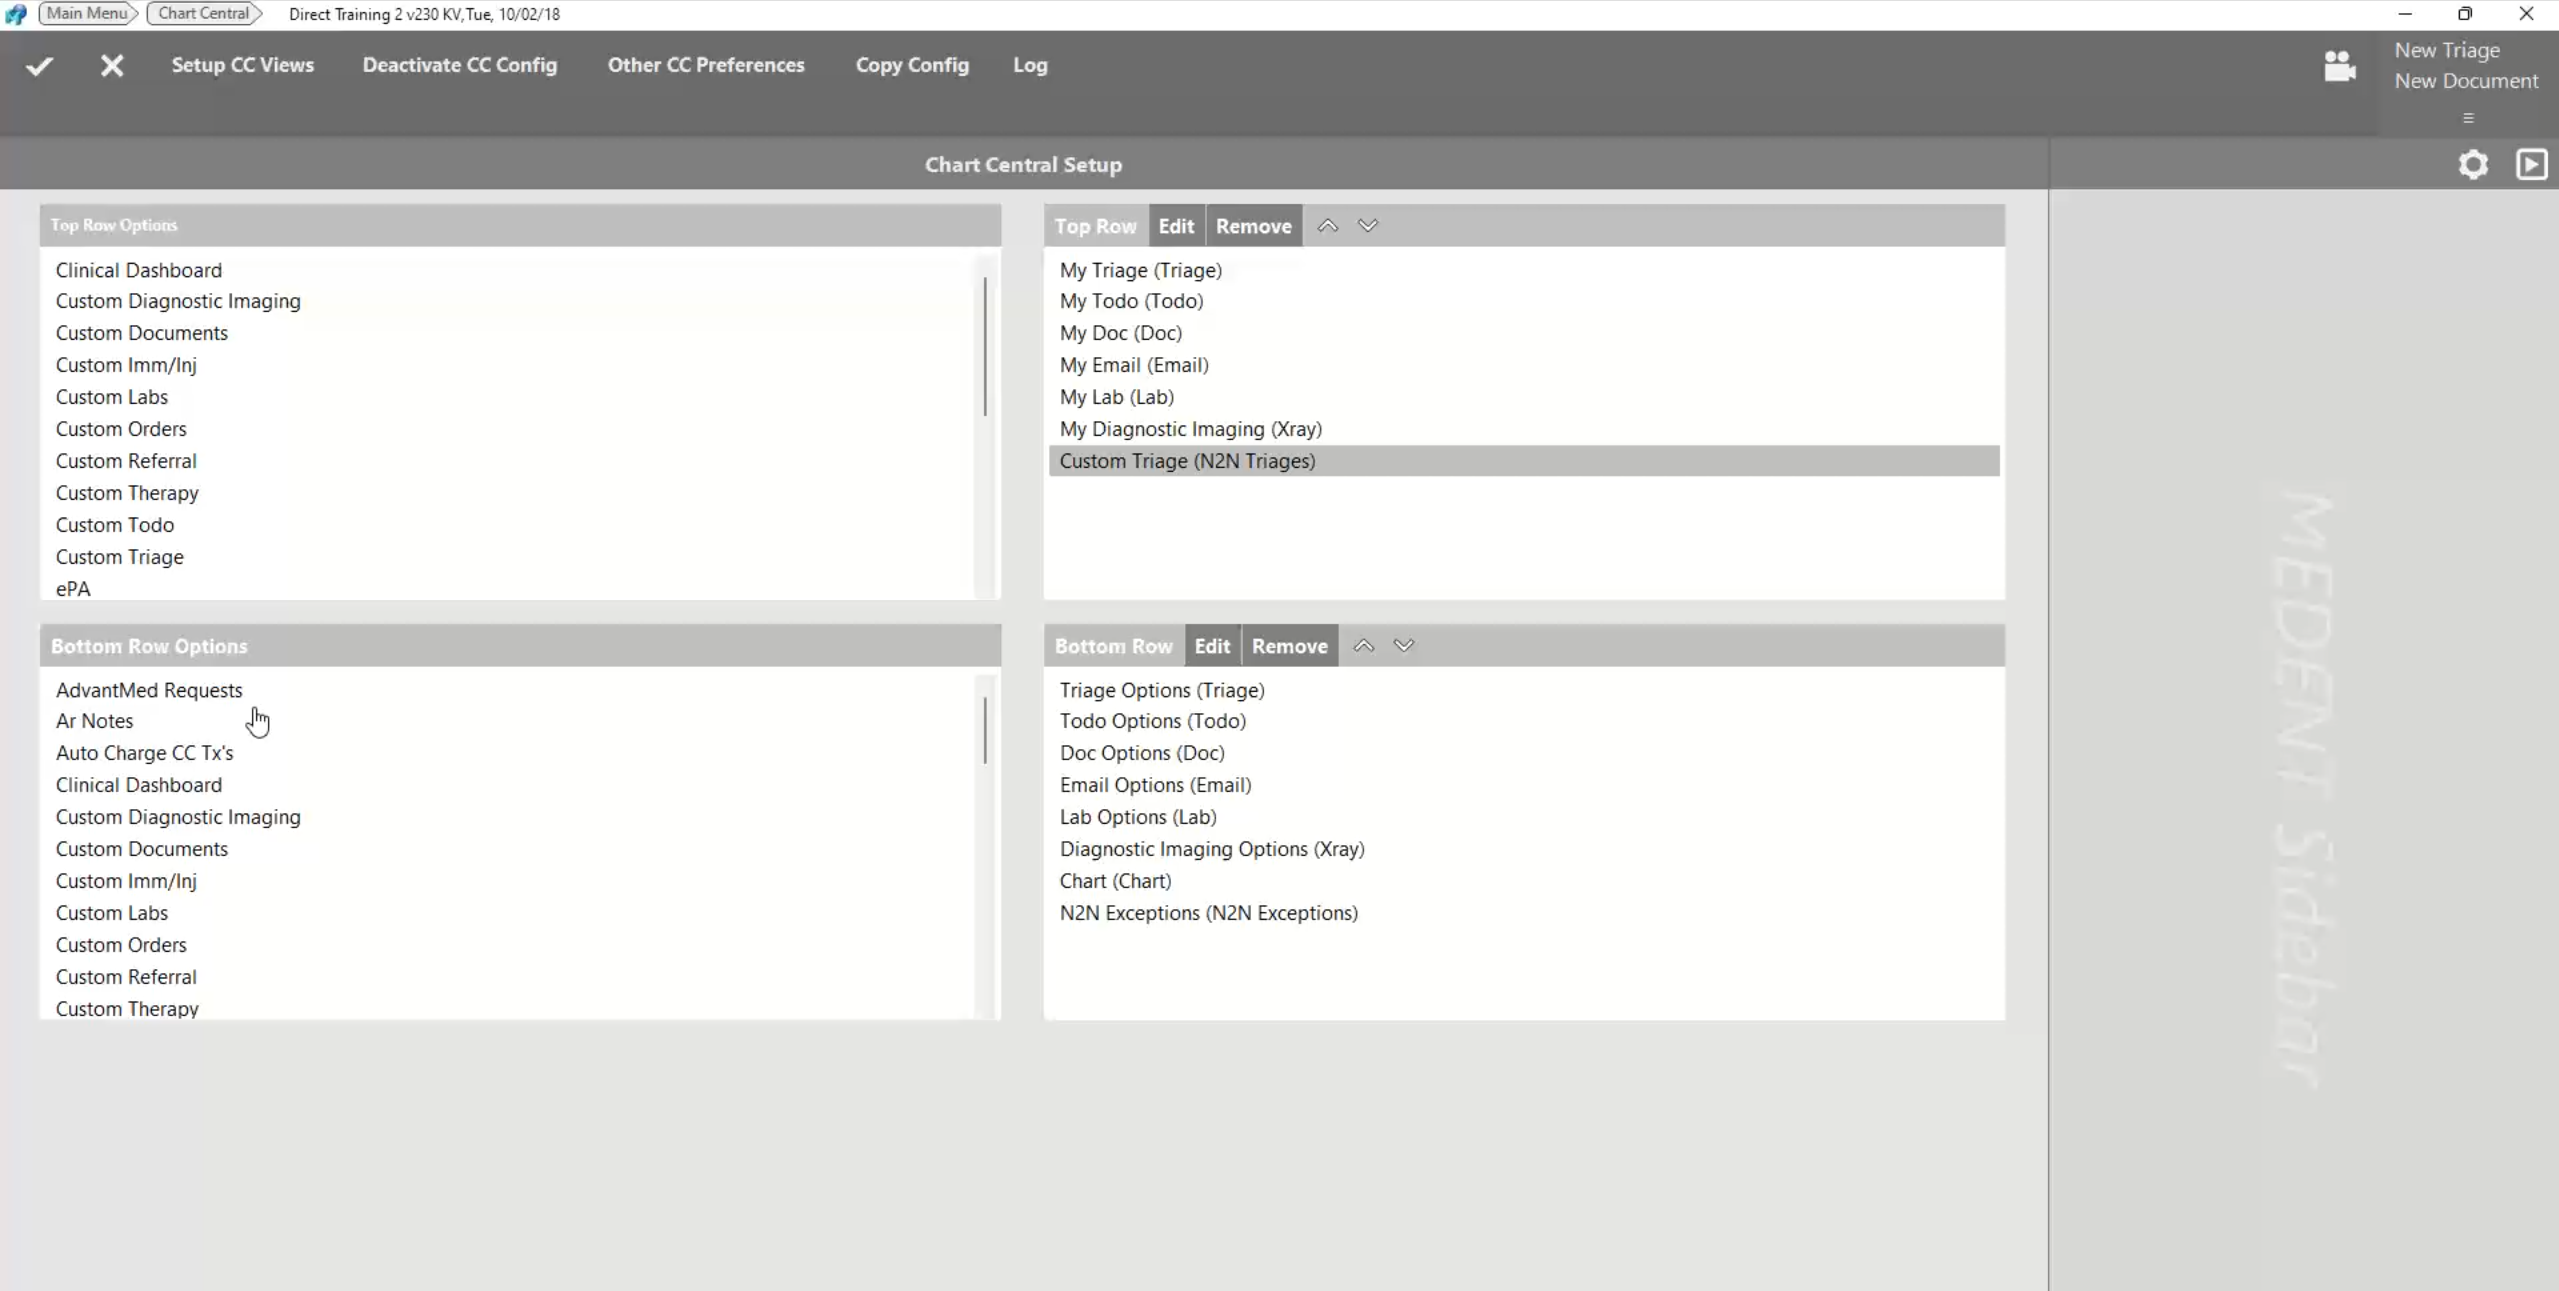
You can add an N2N Triage button and an N2N Exception Holding Tank button to the bottom of Chart Central.
To add the N2N Triage button:
- Click the chevron
 and the gear icon
  .
. - In the top left box, select Custom Triage.
- In the top right box, select Custom Triage and click Edit.
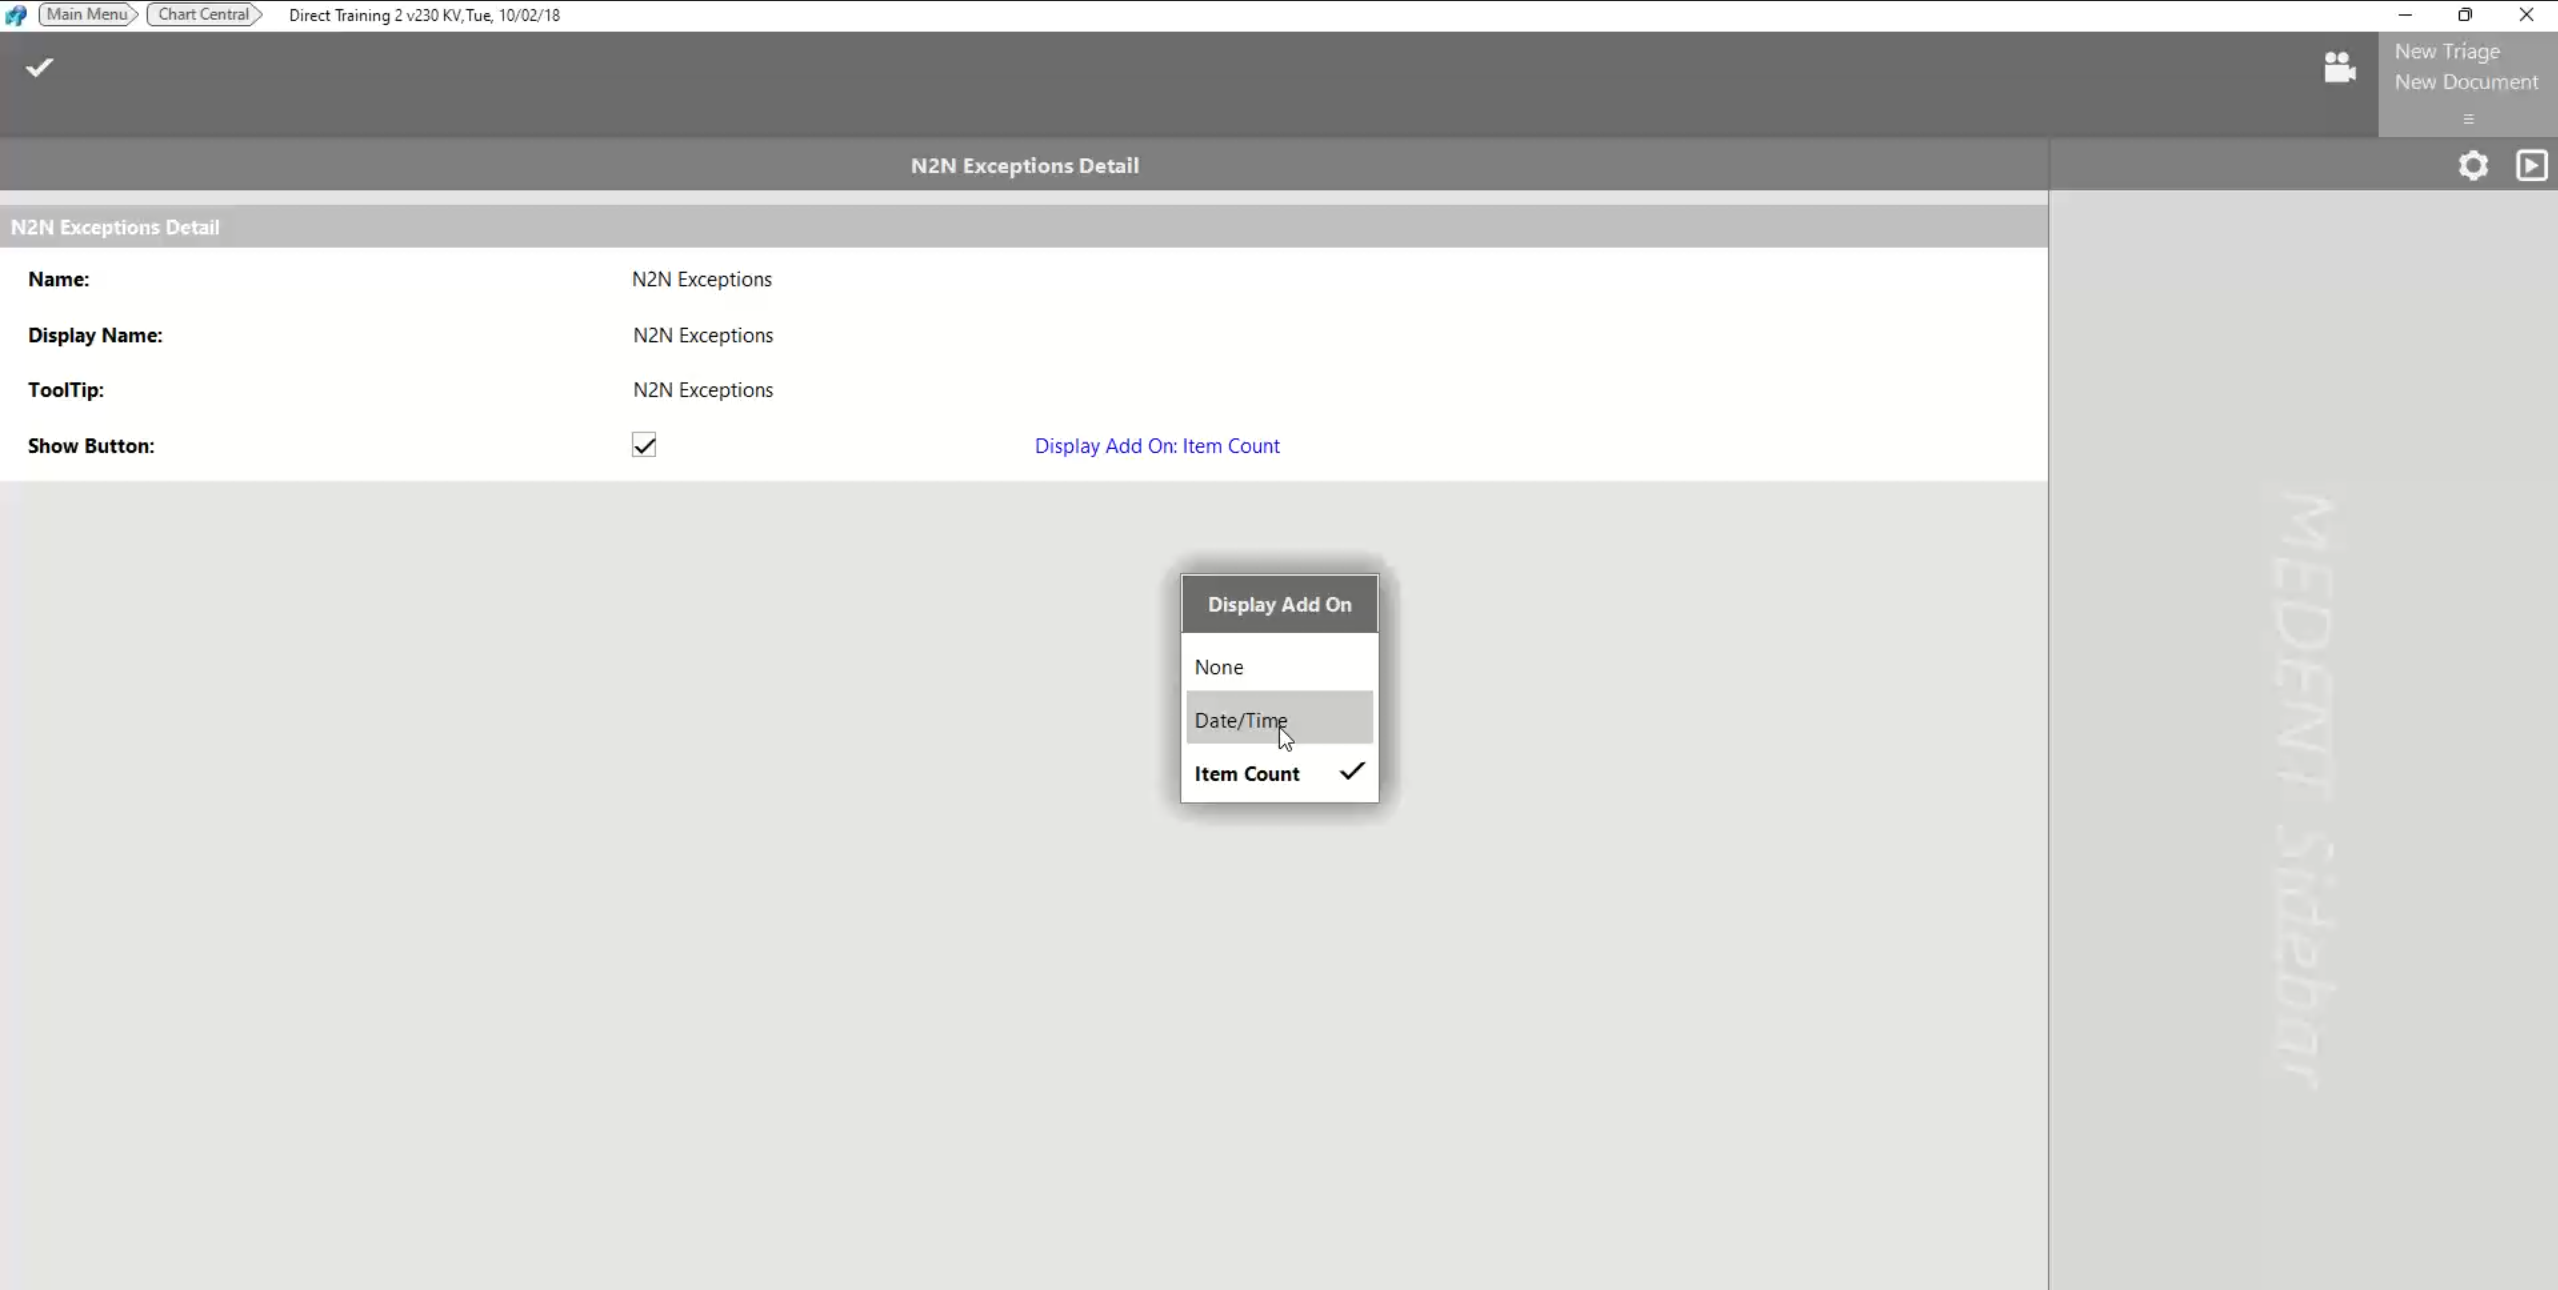
- Change the Display Name to N2N Triages.
- Set the Item Count or Date/Time to display on the button.
- If you are responsible for a specific provider, you can select that provider under Users.
- Select Directin and Directout Reason Codes.
To add the N2N Exceptions button:
- In the bottom left box, select N2N Exceptions.
- In the bottom left box, select N2N Exceptions and click Edit.
- Change the Display Add On to Date/Time or Item Count.
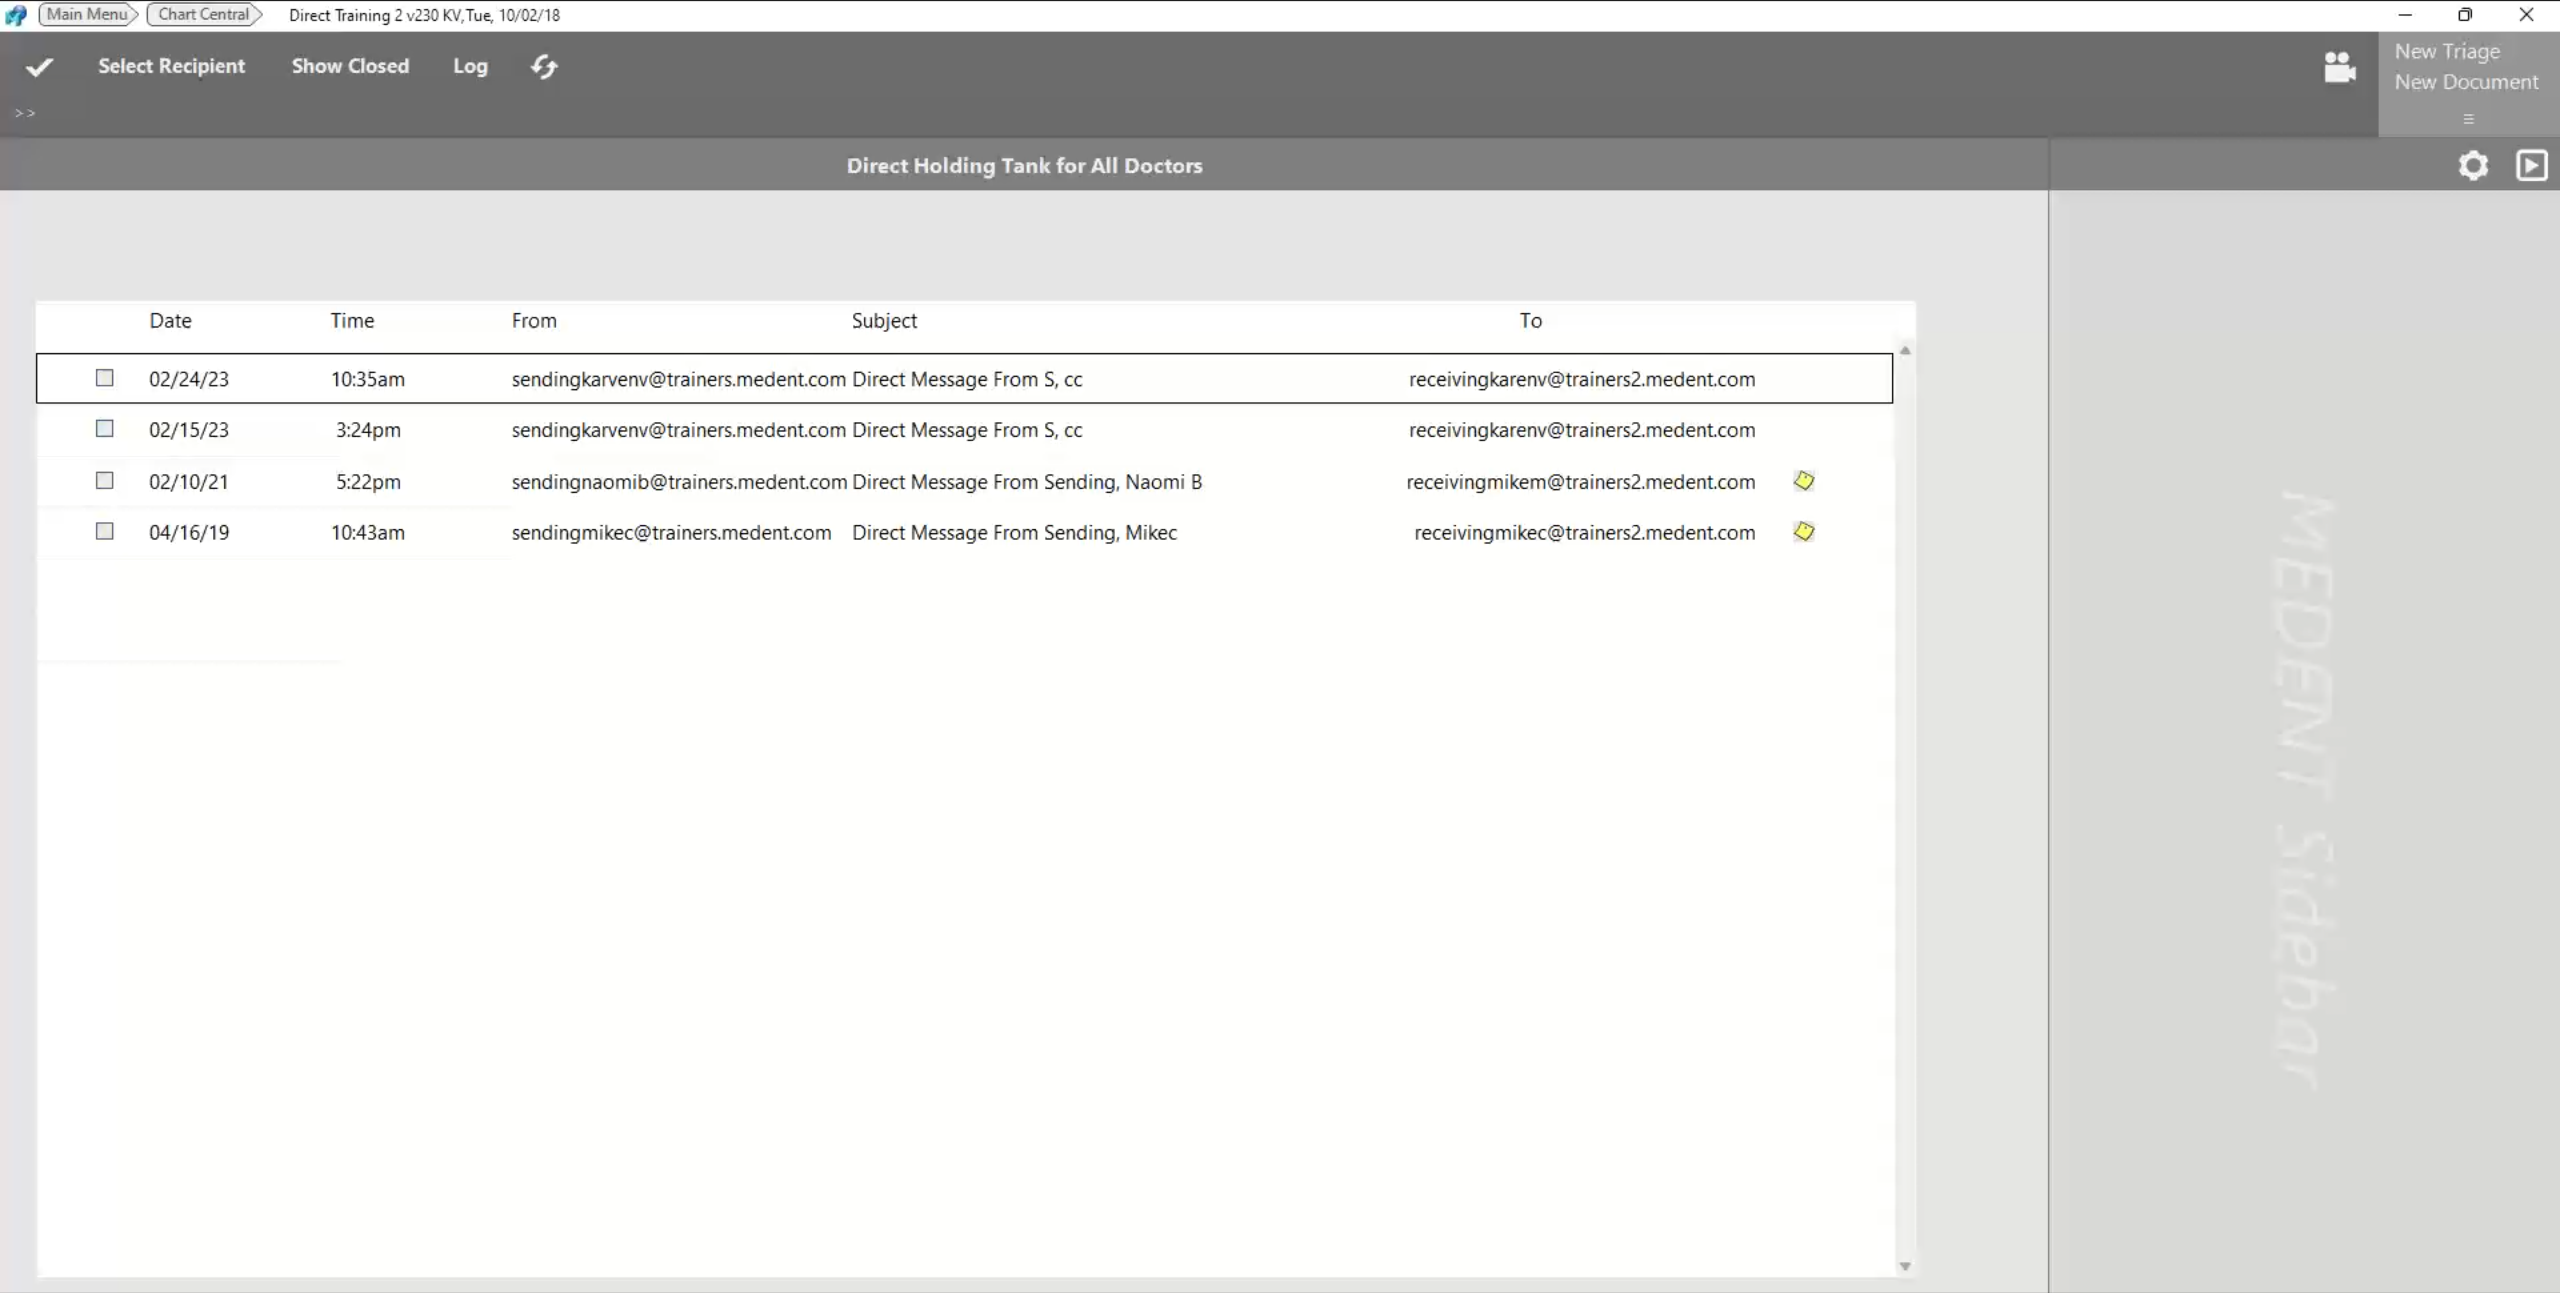
If the patient is not found in your system, an exception will be created.
Click the N2N Exceptions button at the bottom of Chart Central to open the Direct Holding Tank.
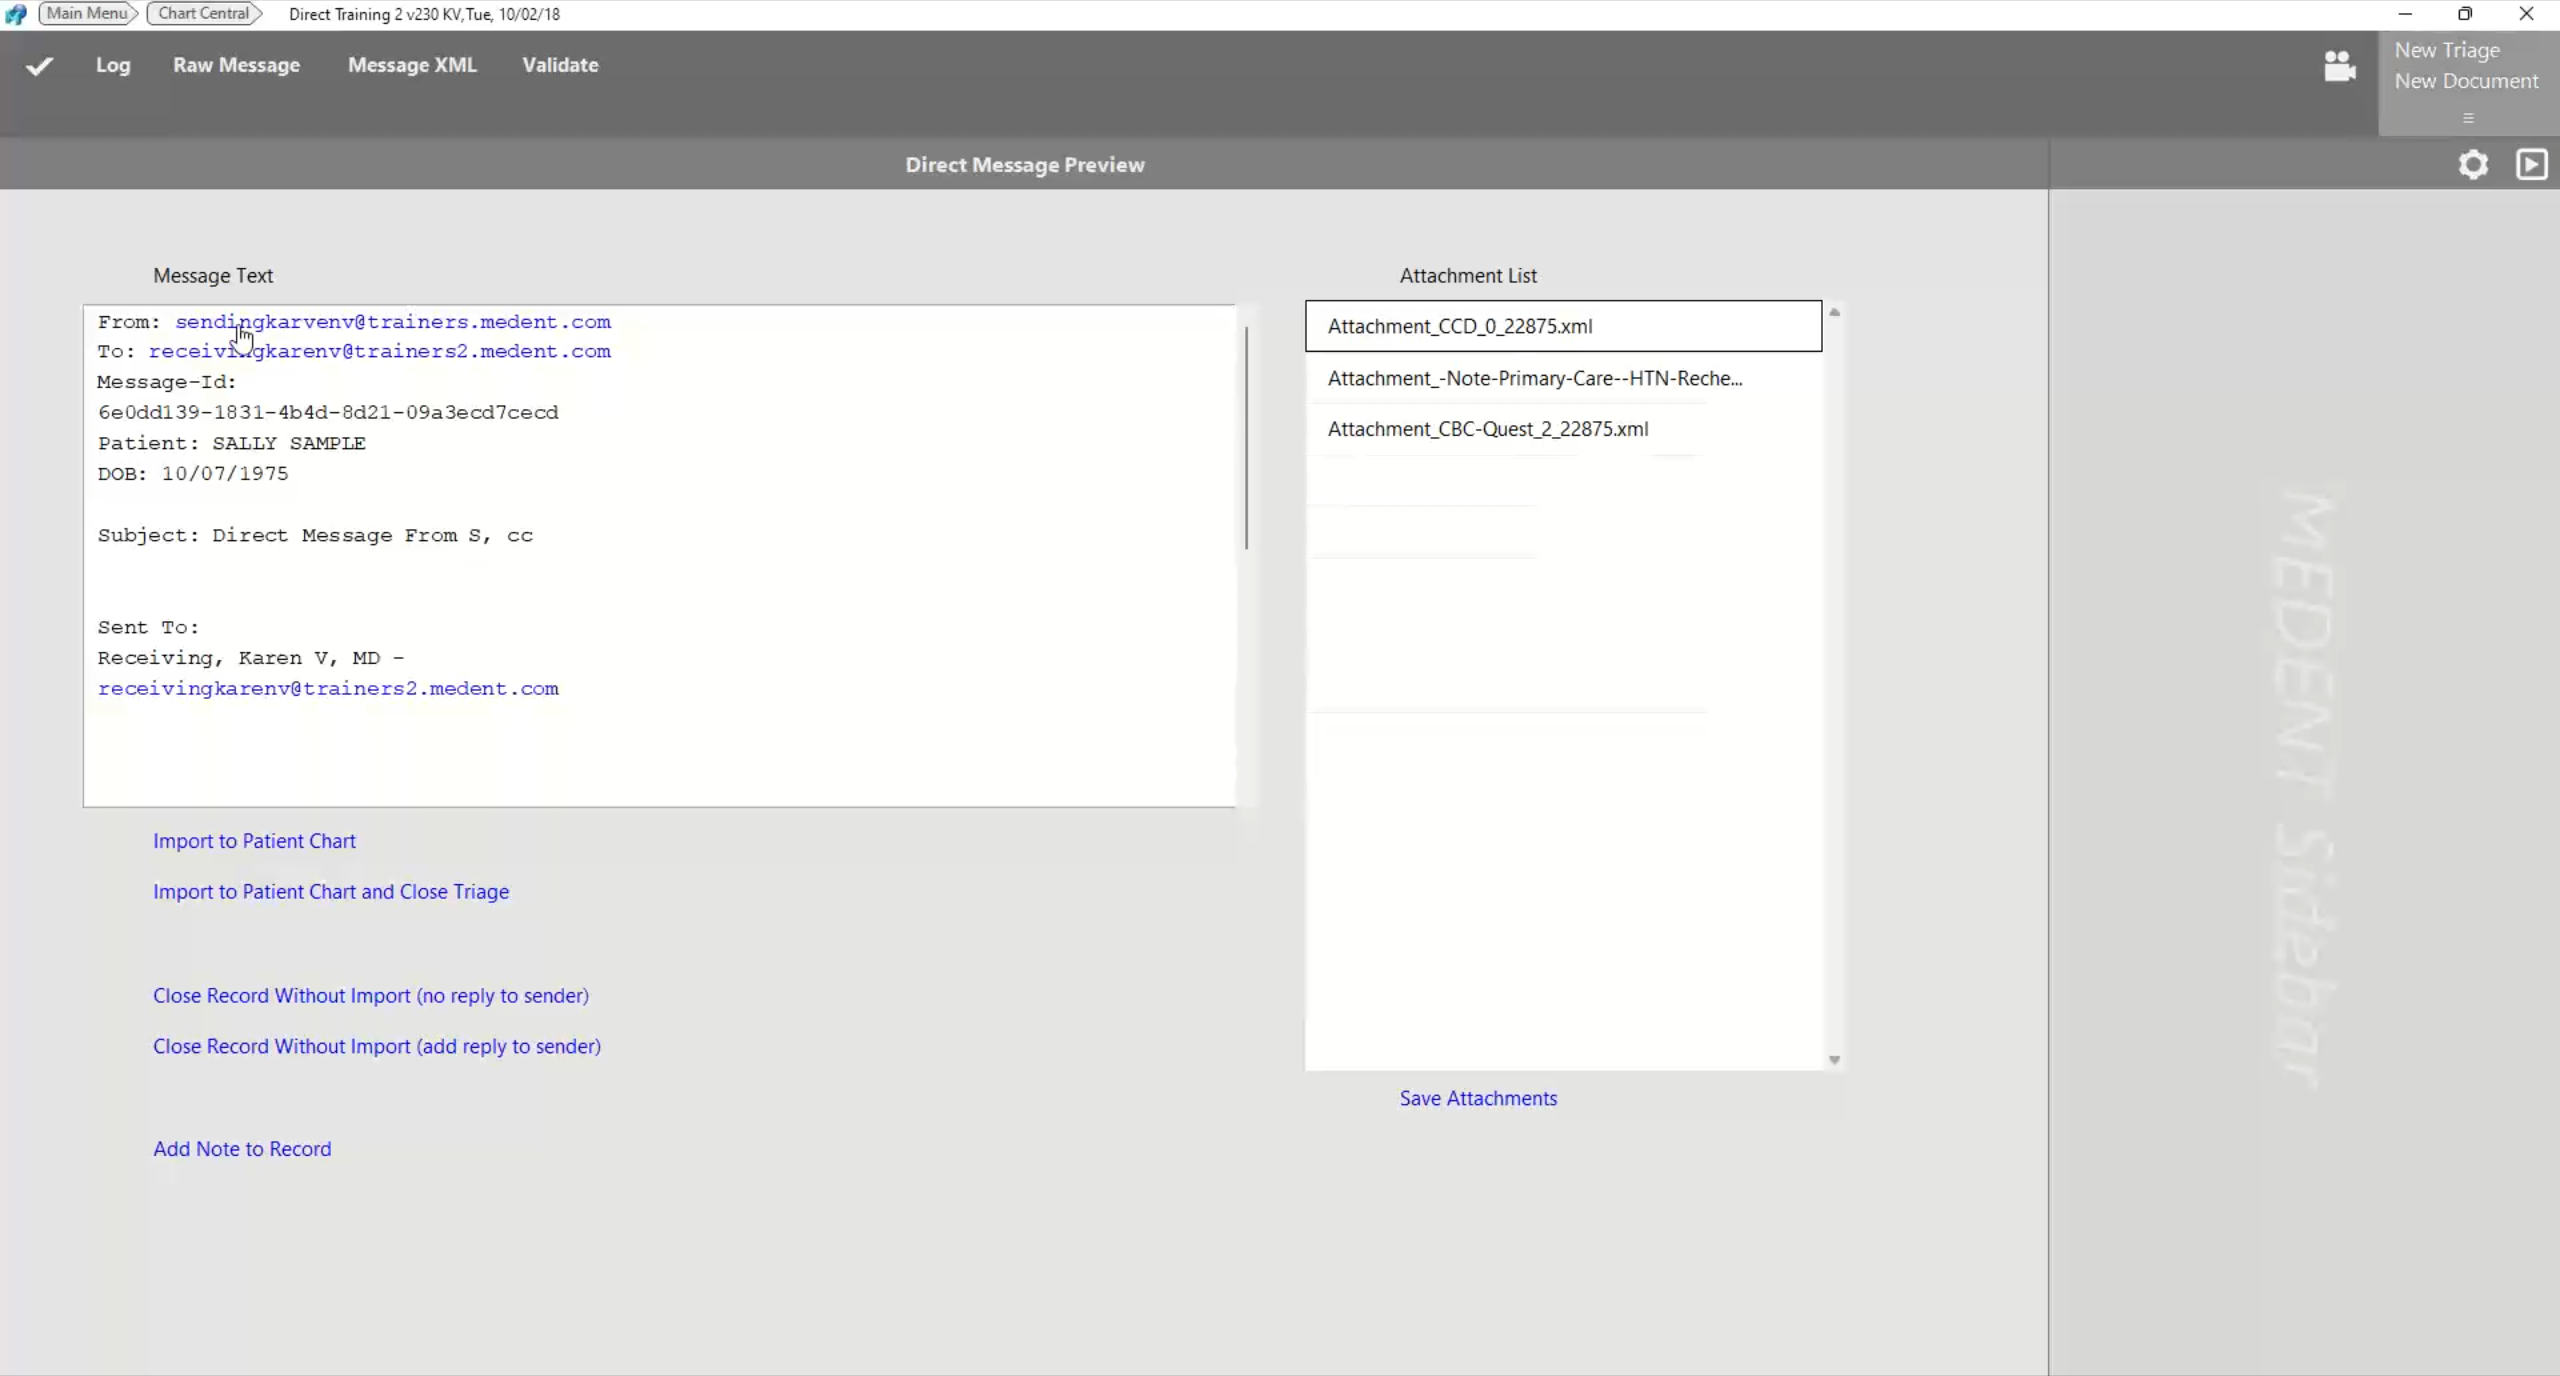
Select a message to view the message text, including who it was from, who it was sent to and the patient it pertains to. You will also see the attachments in the attachment list.
You can click attachments to preview them. You can also select whether you would like to:
- Import to Patient Chart
- Import to Patient Chart and Close Triage
- Close Record Without Import (no reply to sender)
- Close Record Without Import (add reply to sender)
- Add Note to Record
- Save Attachments
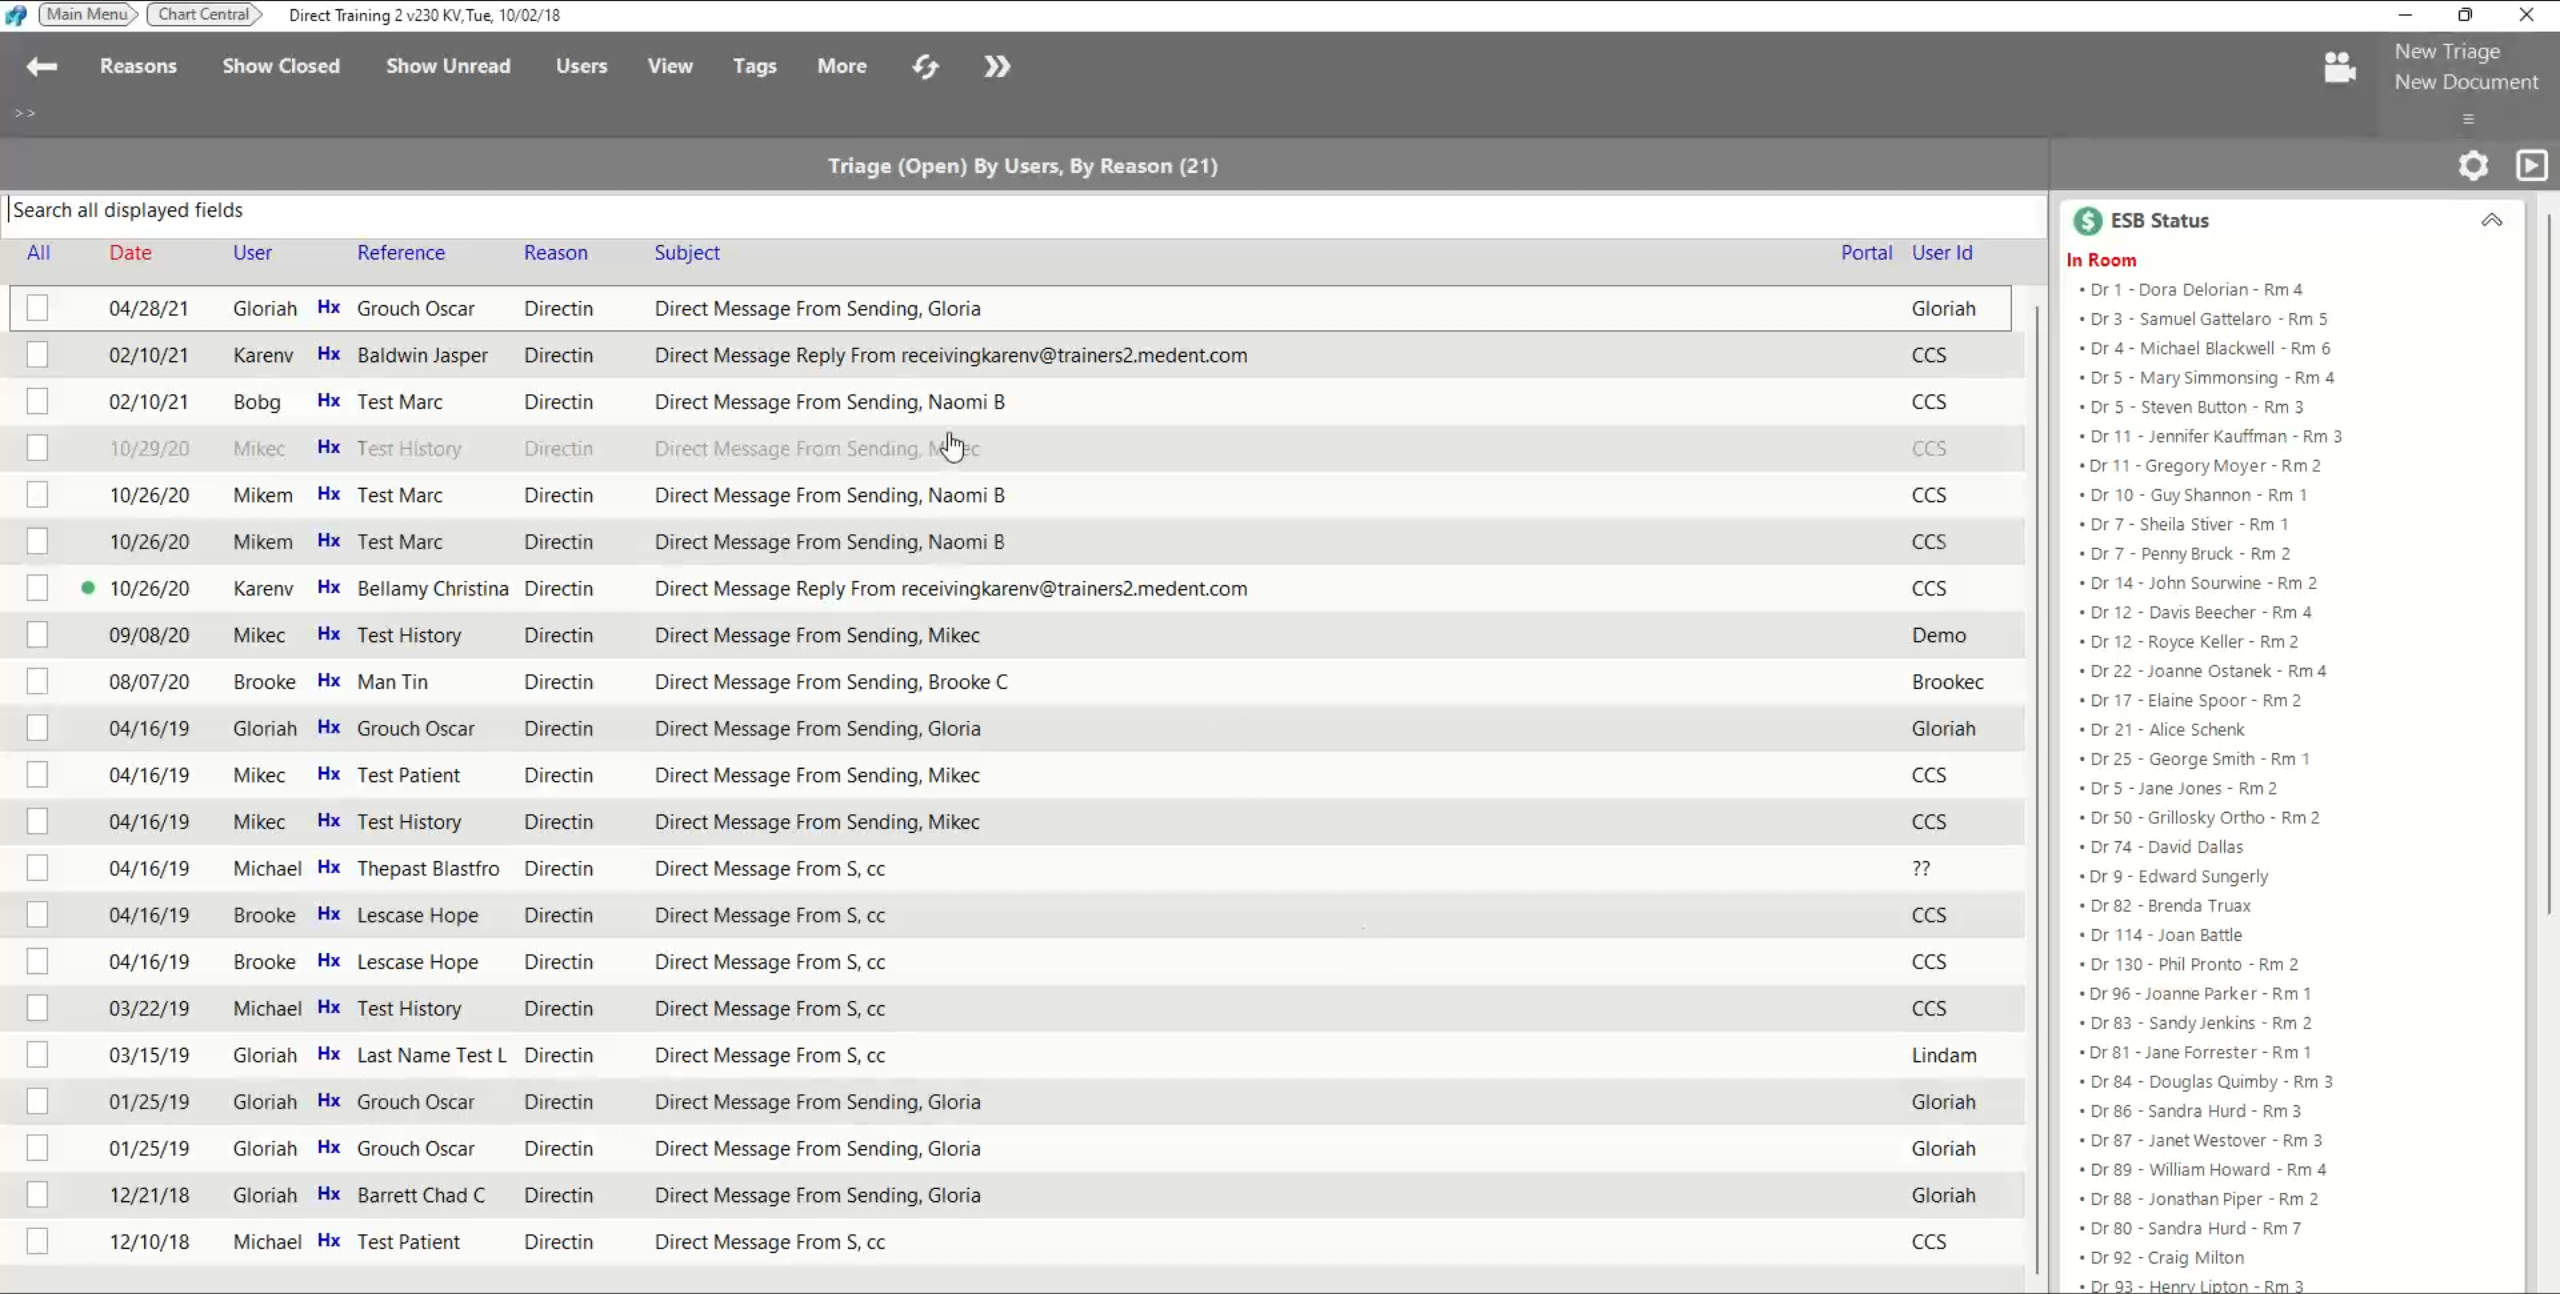
If a message is sent for an existing patient, a triage is created with the reason code DIRECTIN and the sent documents will appear in the documents area of the patient's chart.
Click the N2N Triages button at the bottom of Chart Central to view all incoming messages.
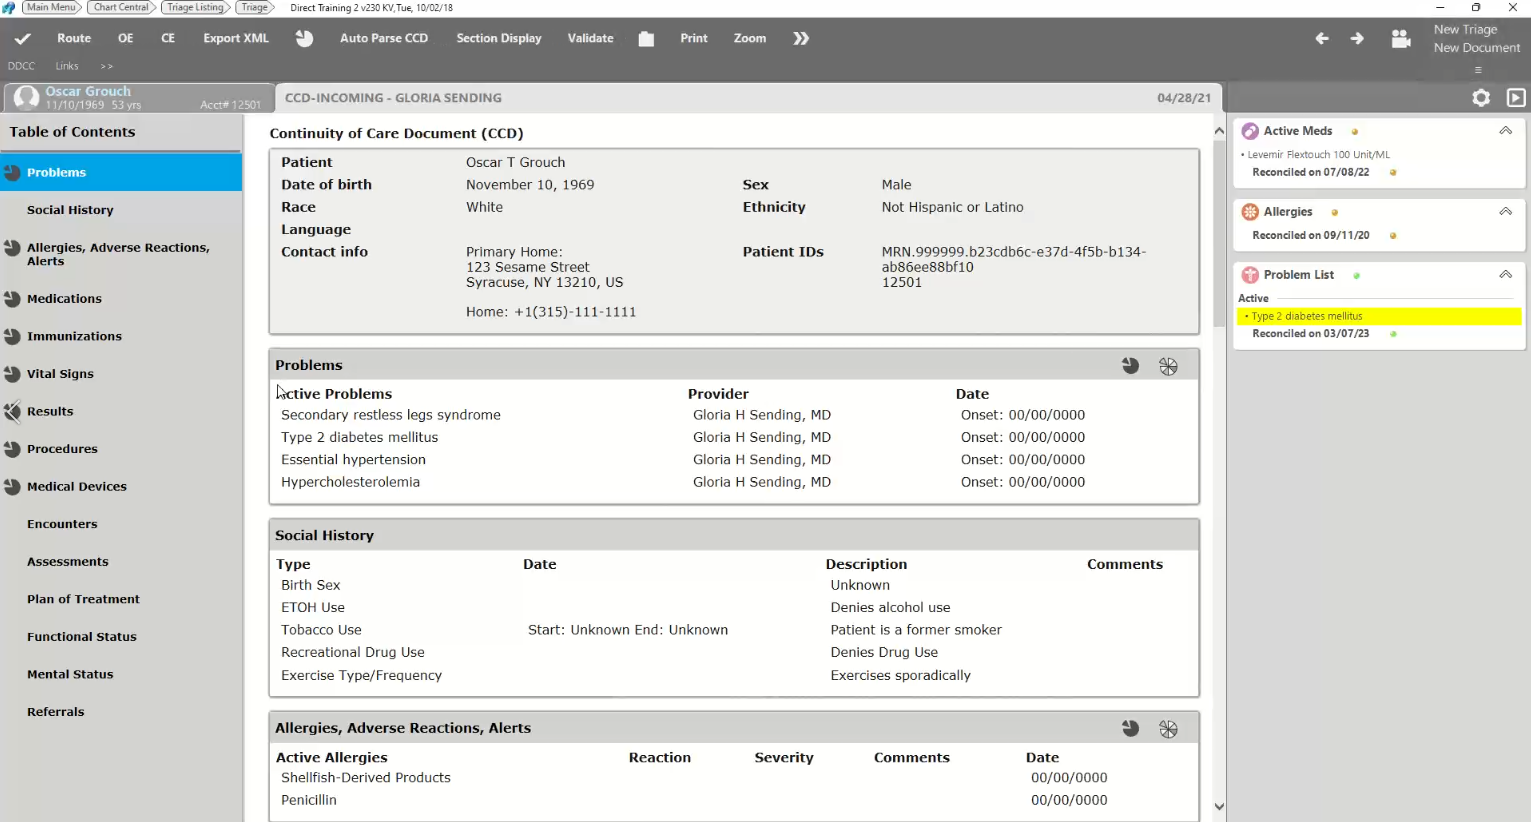
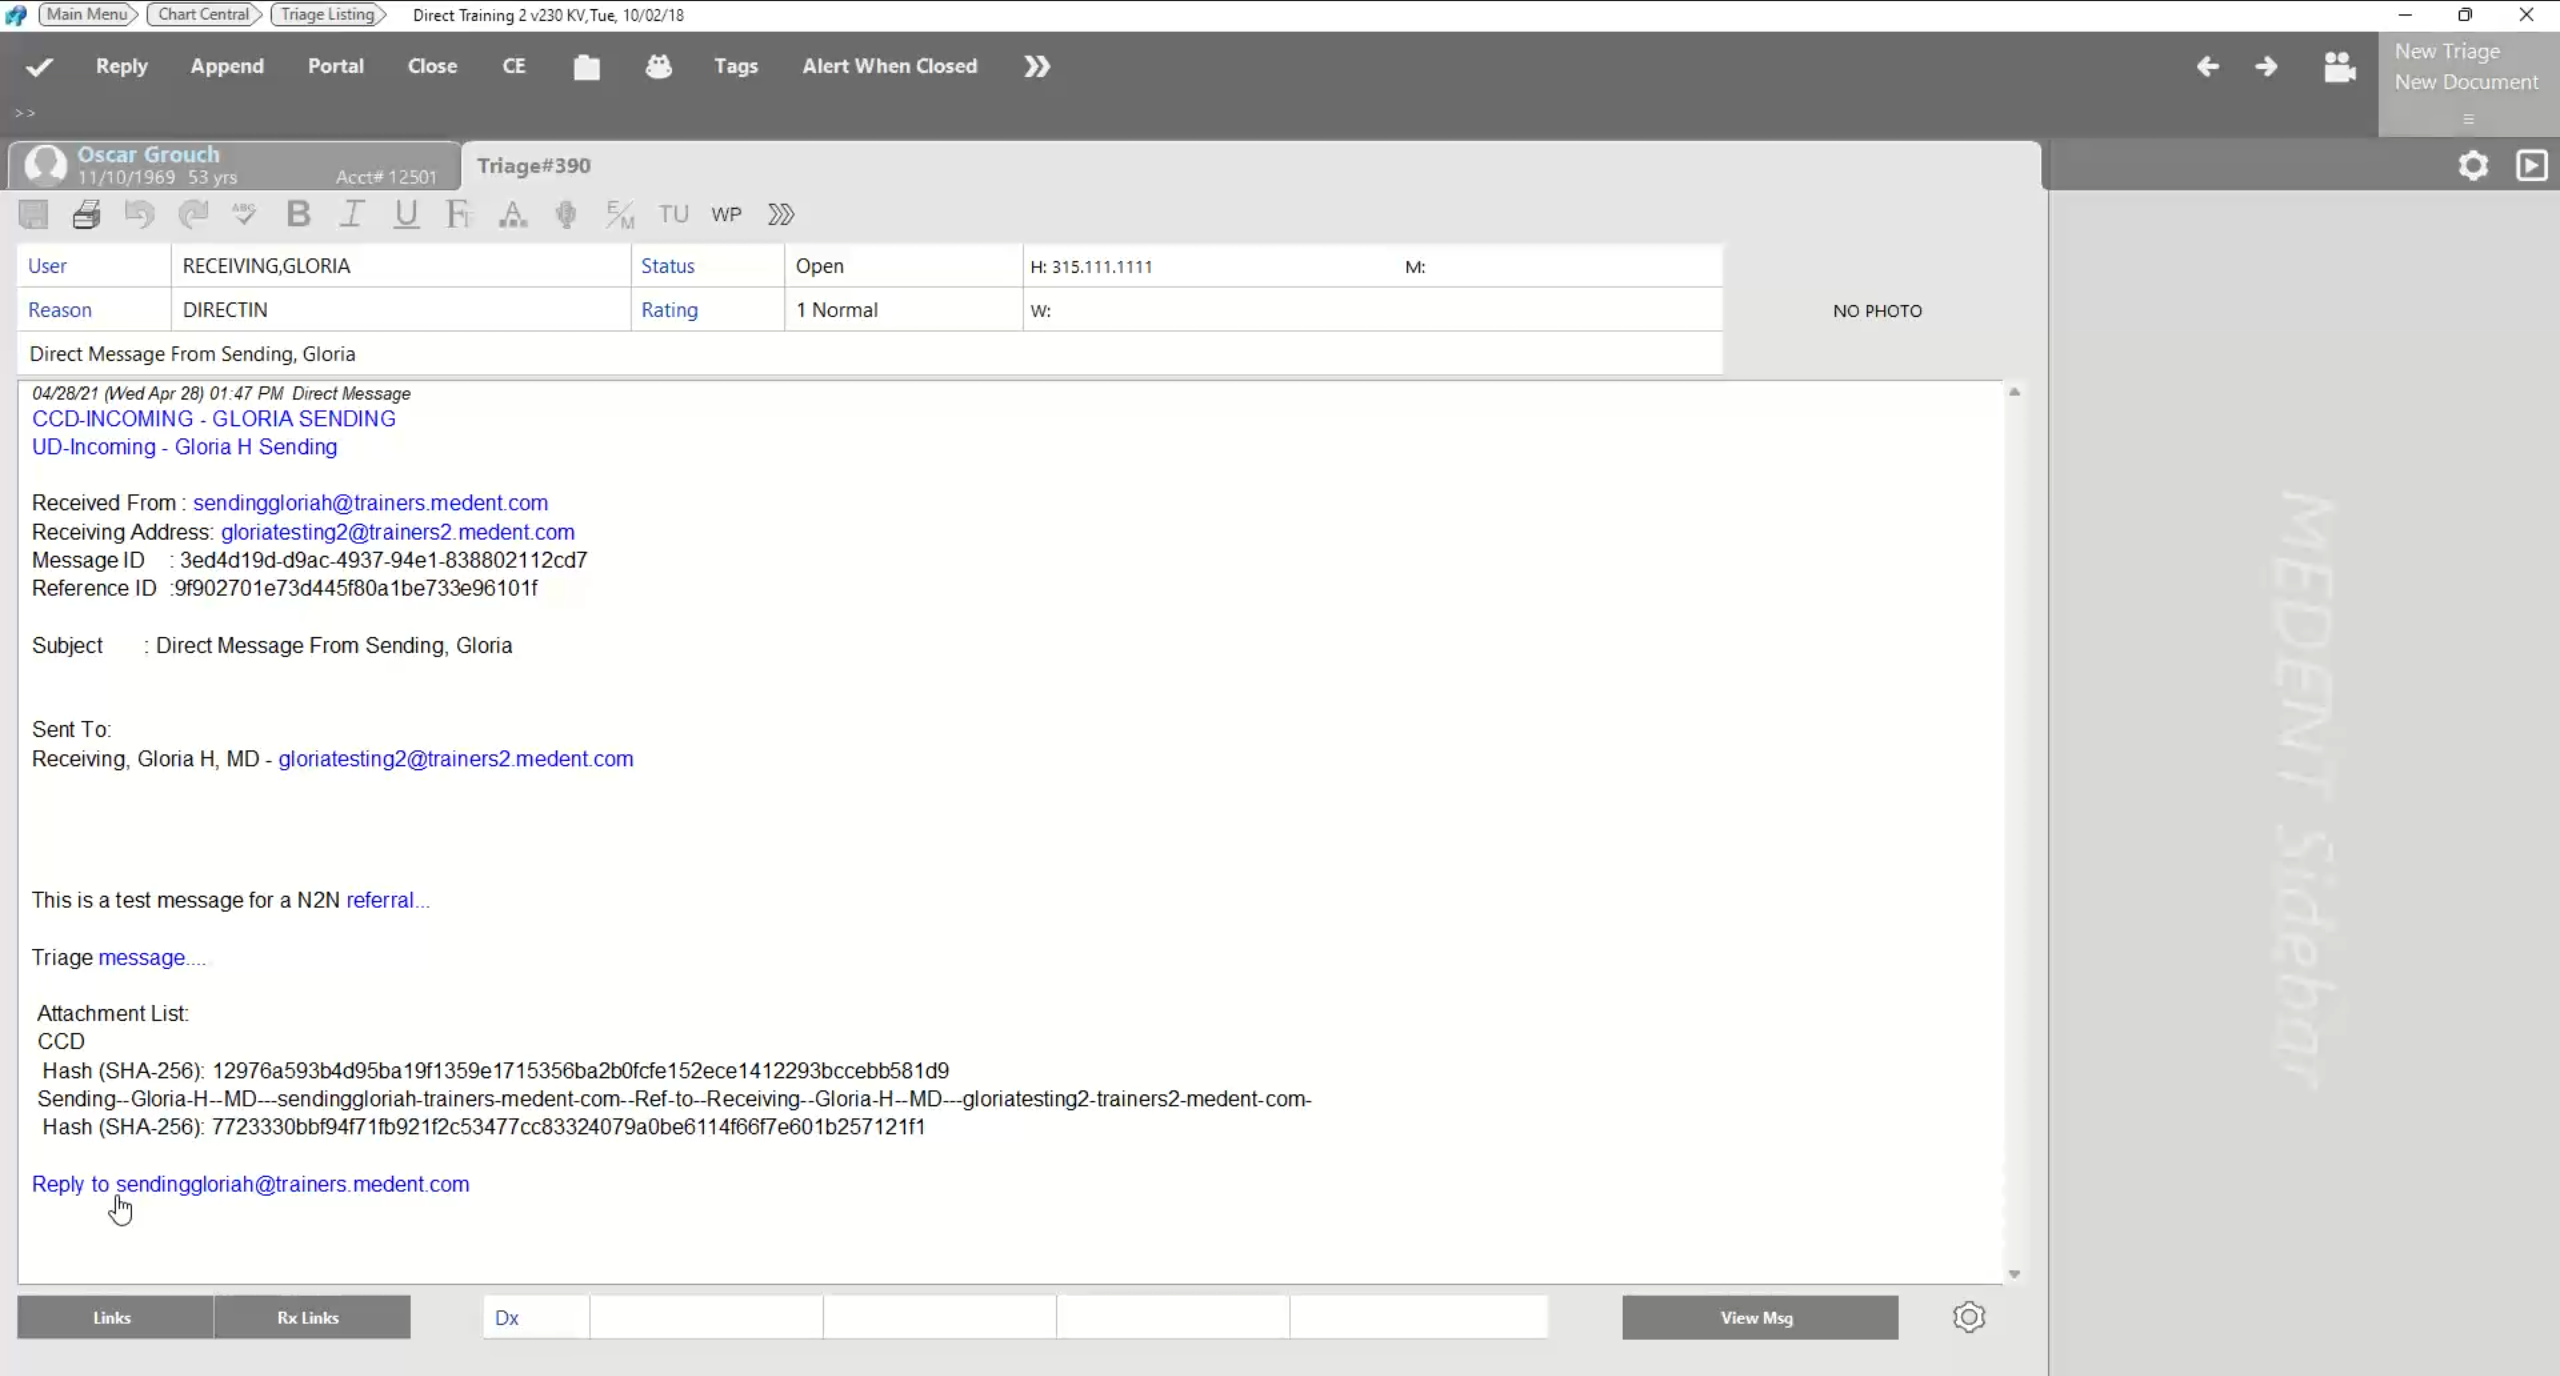
Within an N2N Triage, click the CCD-INCOMING link to open the CCD.
Items that have the pie chart icon ![]() can be manually parsed into the system. This information is structured in a way that can be incorporated into the patient's chart.
can be manually parsed into the system. This information is structured in a way that can be incorporated into the patient's chart.
Items without the icon cannot be parsed and is additional information in the CCD. You can create documents out of these areas if necessary.
Within each section's heading, you will see two parsing options for the sections that can be parsed:
- The solid pie wheel
 represents manual parsing, meaning you can choose what you pull into the chart.
 - The colored pie wheel
 will automatically parse the information into the chart.
You will also see the solid manual parse icon ![]() as a button at the top of your CCD screen. Click this to manually select the information you'd like parsed from the entire CCD.
as a button at the top of your CCD screen. Click this to manually select the information you'd like parsed from the entire CCD.
When manually parsing data that needs to be reconciled in the patient's chart, such as allergies, medications, immunizations and problems, you will be brought to the reconciliation screen where you can see what is currently in the patient's chart, what is in the CCD and what has already been reconciled.
You can also check the box next to information that cannot be reconciled or parsed and create a new document within the patient's chart.
You will also see an Auto Parse CCD button at the top of your CCD screen. Clicking this will automatically parse any information the system is able to. NOTE: This feature should be used with caution, as important free text information may not be parsed into the patient's chart.
Click CE to Close & Exit the CCD.
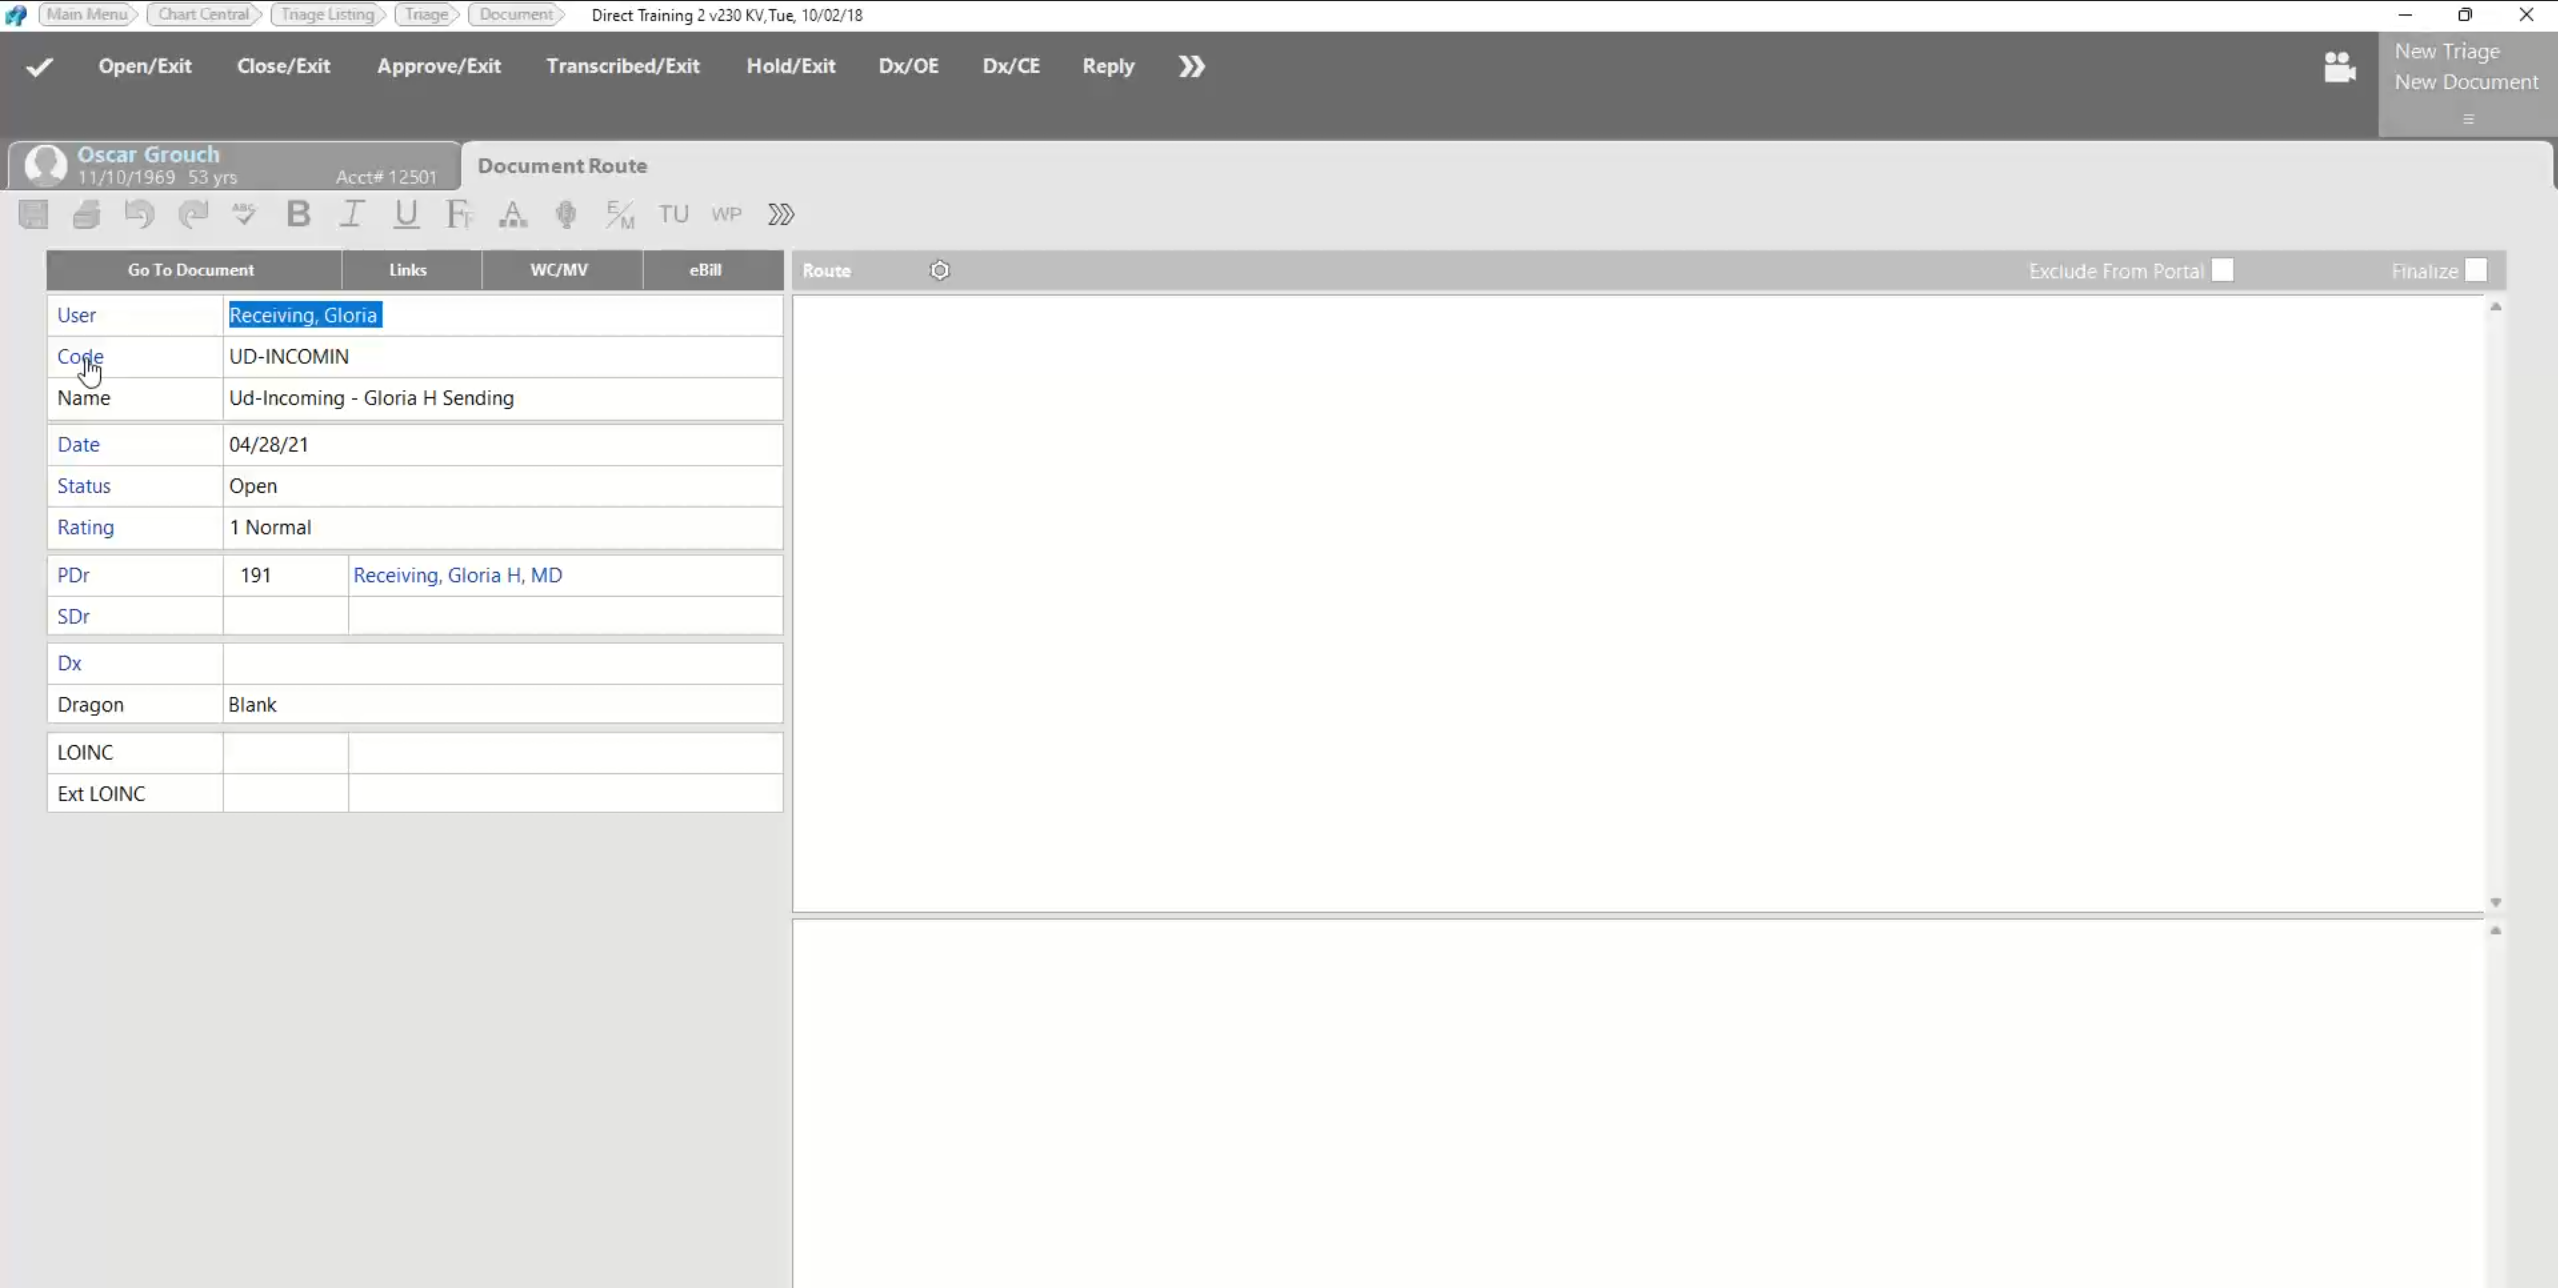
A UD or C62 is an unstructured document that was scanned in the system.
To change the code on a UD, enter the UD and click Route at the top of the screen. Then, click Code and select a new code from the list to place it in the appropriate area of the patient's chart. Enter a name for the document.
Click Close/Exit to exit the document.

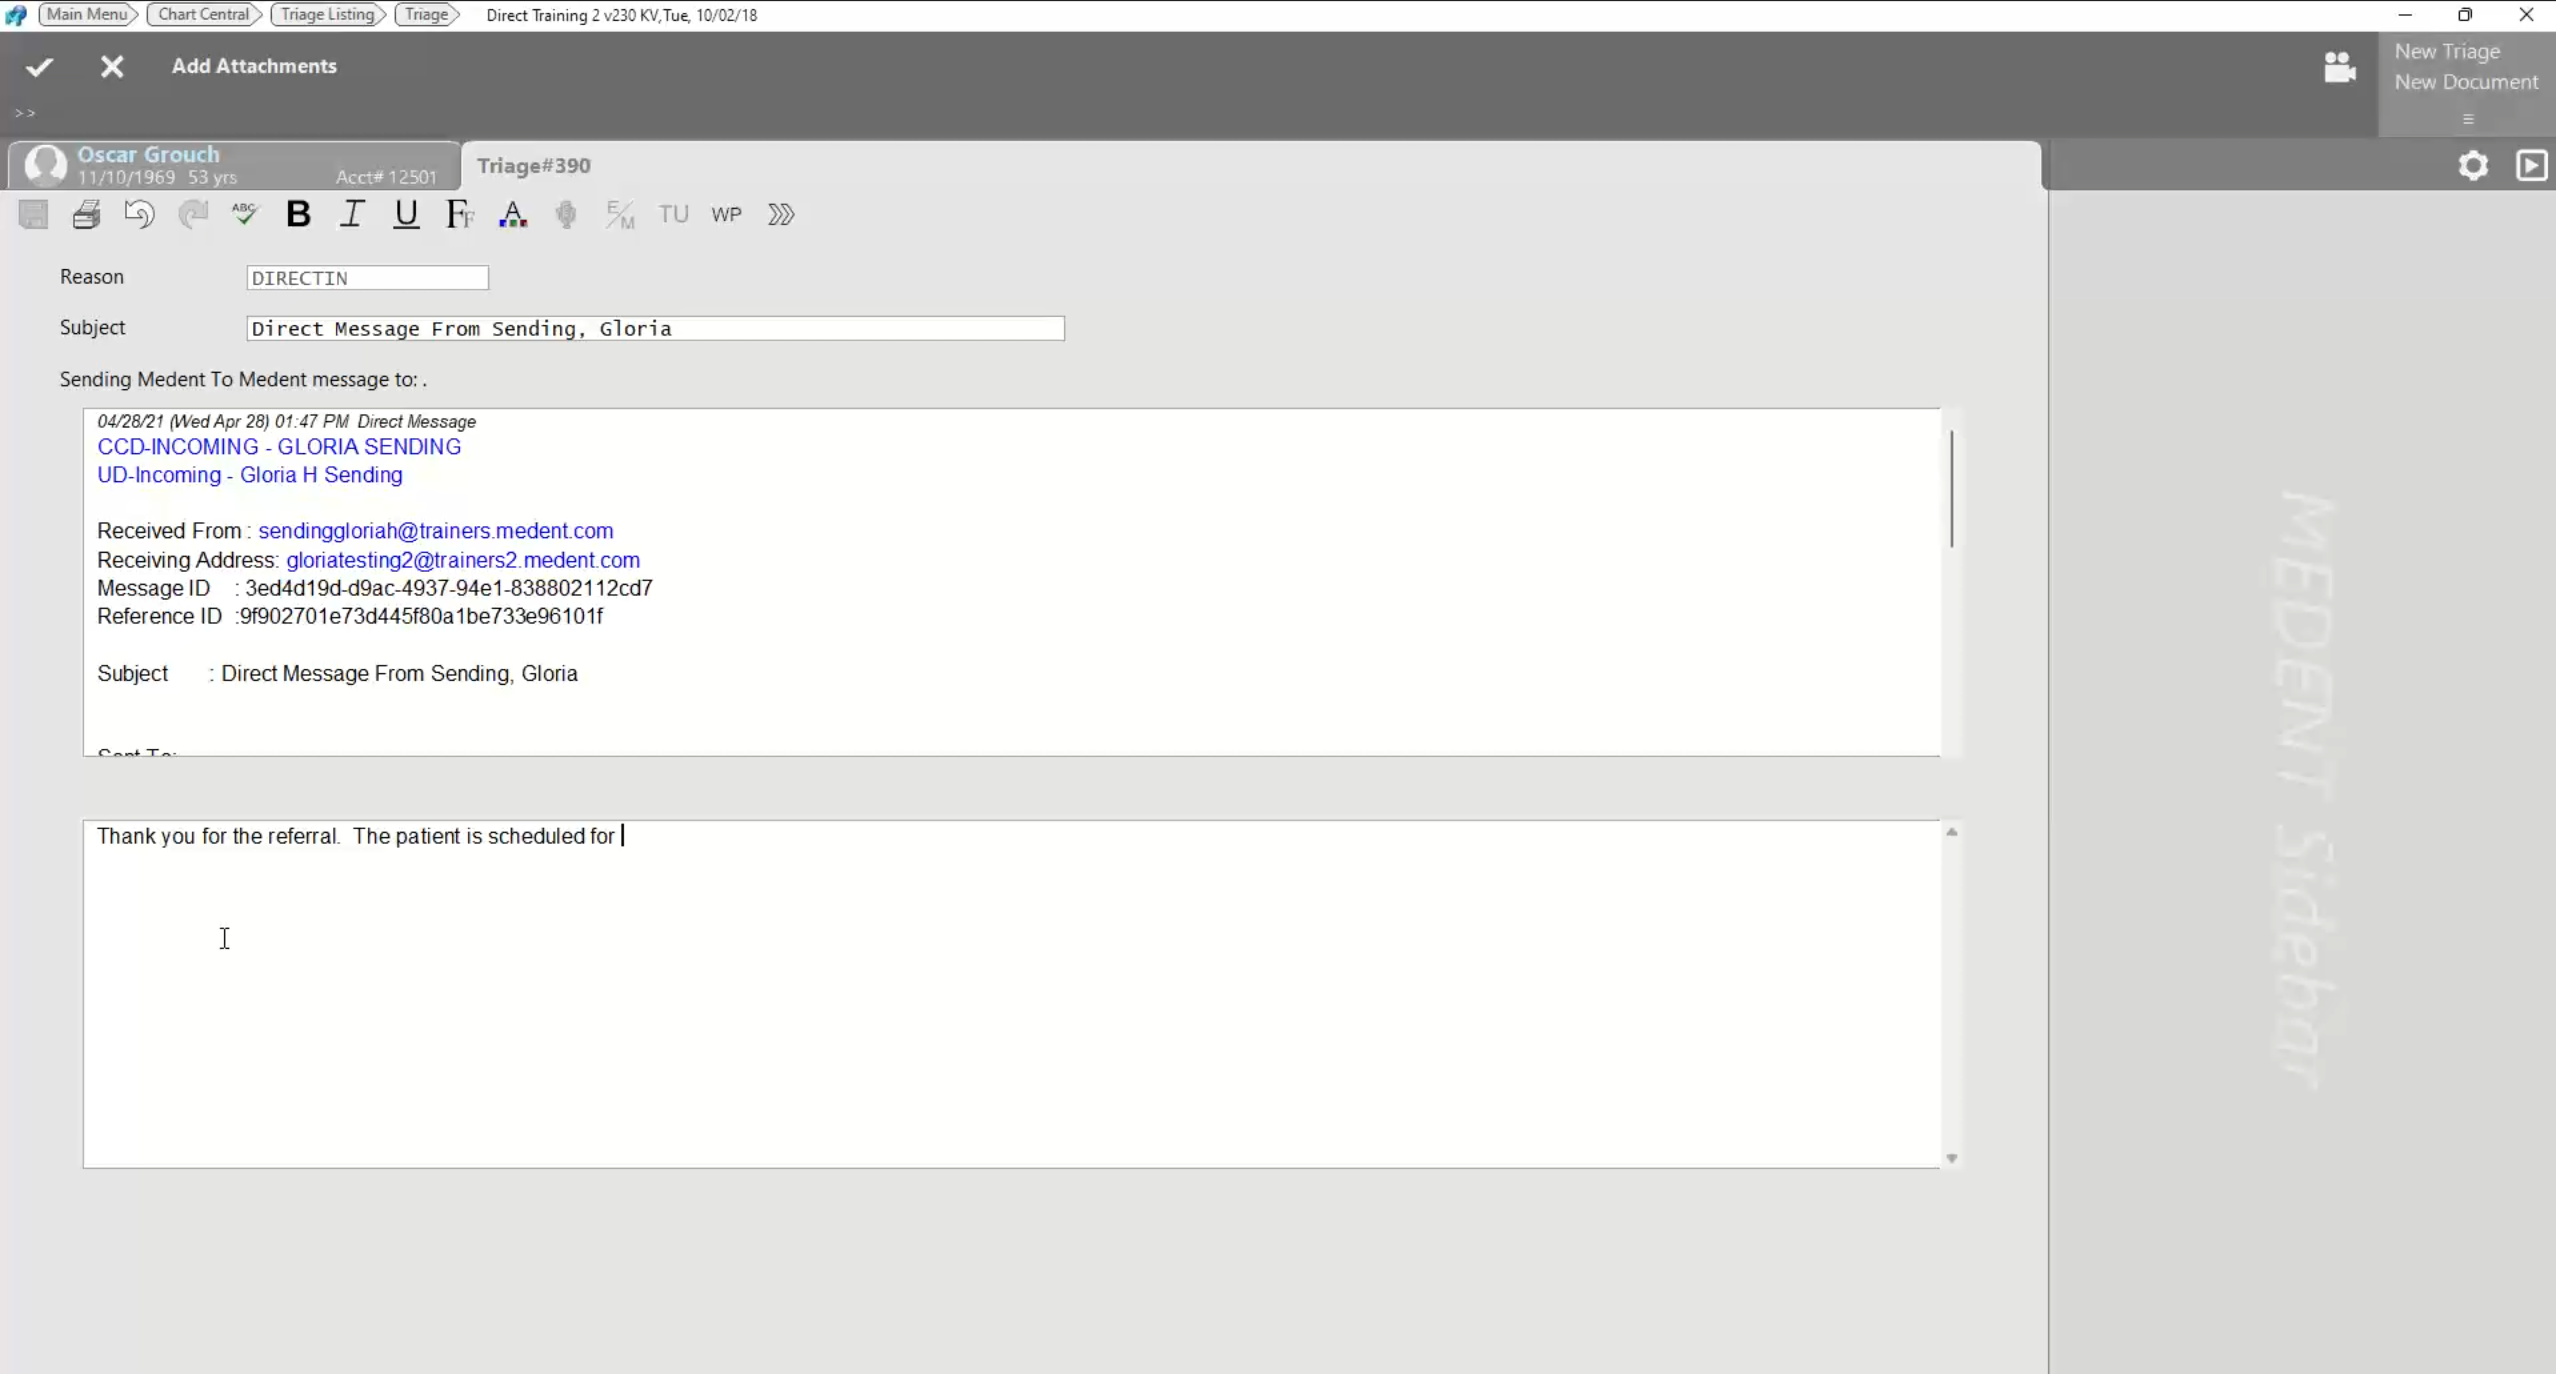
Within the N2N Triage, you can click the Reply to [email address] link to enter a message. Click the check mark in the top left corner to send the reply.
Note: your reply text will display in the triage as well.
To forward or route the N2N Triage to someone else in the office, simply click User and select the appropriate staff.
When finished with the triage, change the status to close and click the check mark to exit.